Configuring Your Grade Book
Begin using the grades tool by setting up your grade book. You can create the grade book at any point in the semester, but it is recommended that you do it early in the term – doing so allows you to link assessments (quizzes etc.) created in Brightspace to the grade book for a direct grade transfer. Follow the steps below to create and use the grade book in Brightspace.
NOTE: You have to hide the final exam or final assessment grade item in the grade book. Final grades are officially released by the Registrar’s Office through Memorial Self-Service five days after final exams end. For more information, please visit: The Registrar’s Office.
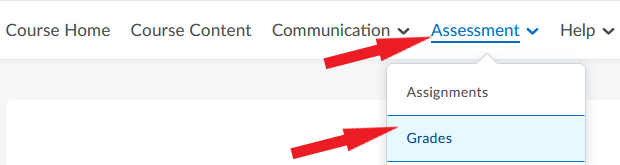
- On your course home page, go to Assessment and select Grades from the dropdown menu.
- Select Setup Wizard from menu just below the navbar. Scroll to the bottom of the page and click Start.

- You will now be taken through the grade book setup process. The default settings suggested in each step are the most commonly used options. However, if you would like to follow a unique evaluation scheme, you can make selections that reflect your plan.
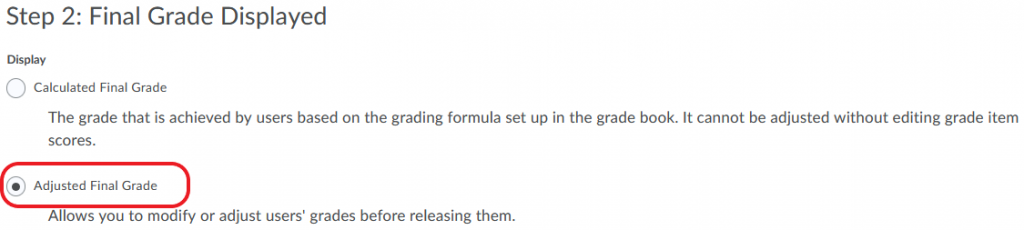
- In Step 2 of the setup process, the Adjusted Final Grade is selected by default. Do not change this setting. At the end of the term, grades from this column (and not from the Calculated Final Grade column) will be transferred to Banner.
- When you finish the setup process using the wizard, click on Manage Grades in the menu just below the course navbar.

- You can now begin creating your Grade Items. Grade items represent the actual assessments students in your course will complete and to which you will assign grades. To create a grade item, click New and select Item.

- Later when you start creating assessments in your course (assignments, quizzes, discussion forums etc.), you will be able to link them to the Grade Items in your grade book.
- If your course involves multiple assessments, you may also wish to create Categories in your grade book to help you group related assessments (e.g. quizzes) into sections. A major benefit of using categories is the ability to drop the highest or lowest grade items within that category from evaluation. For instance, if your students write 10 quizzes but you want only the 8 highest grades to count towards the final grade, creating a ‘Quizzes’ category enables you to automatically drop the two lowest grades.
NOTE: Once you begin entering student grades, you should not make changes to the grade book settings as they can affect existing data.
Video Instructions
Understanding Grades
Create a Grade Item
Create a Category
Associate an Activity with a Grade Item
For videos on additional grade book settings, please visit the Grades Tool for Instructors playlist on YouTube.