Configuring Meeting Settings
You can configure Webex meetings in a variety of ways. The different options allow you to control how the participants enter and participate in a session, and they can be set before or after the meeting has started.
> Considerations When Applying Settings
- You may be hosting a meeting where you know participants are in an area where high speed internet is not readily available. You can configure your meeting to help accommodate the participants’ low bandwidth by disabling video and sharing.
- You may be hosting a small group meeting where you want participants to see and talk with each other but not share anything. In this case you can disable sharing and ensure video/audio are enabled.
- You may be hosting a meeting where you are lecturing and you want to minimize disruptions. You could disable audio on entry as well as disable sharing, video and chat.
> Some Commonly Used Settings
- Mute participants when they join the session.
- Enable participants’ ability to share content.
- Allow participants to use video, chat and notes.
- Enable and pre-assign breakout rooms.
- Turn off the sound of participants joining, leaving and raising hands.
> Setting Preferences When Scheduling a Session
Meeting options can be set when you are scheduling a session or a series of sessions. If scheduling a series of recurring sessions, all the options you select will apply to each meeting in the series. To configure your meeting options, follow the steps below.
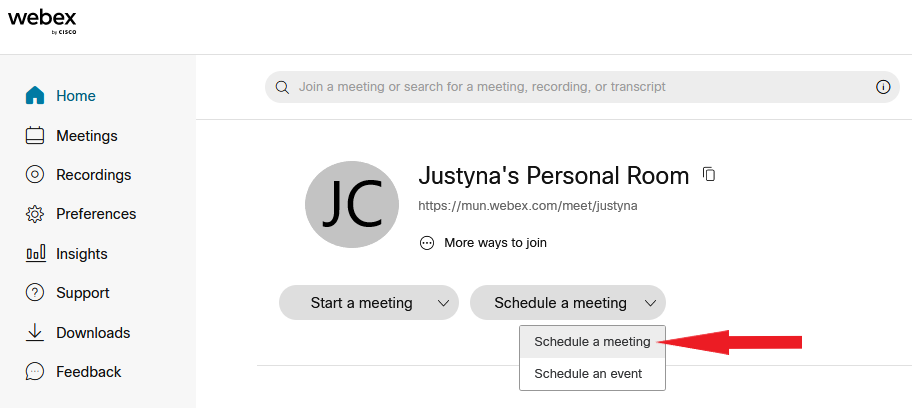
- Go to your dashboard in the Webex portal and click Schedule a Meeting.
- Enter the following information:
- Webex Meeting Pro as the meeting type (#1 in the image below)
- meeting topic (#2)
- meeting password is automatically generated for you, but you can create your own password as an alternative (#3)
- date, time, and duration of the meeting (#4).
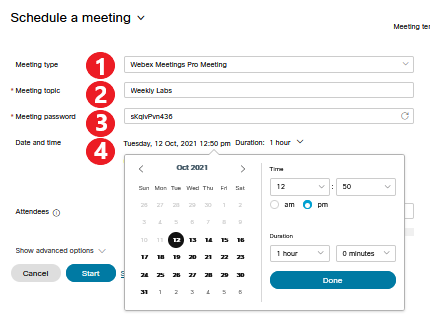
- Click Done, then click Schedule.
- Optional: If you wish to schedule a series of meetings with the same settings, select Recurrence. This will provide you with additional options. Make your selections.

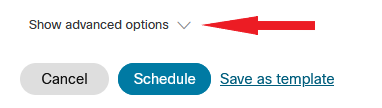
- Before you click Schedule, note the Show advanced options menu immediately above the Cancel and Schedule/Start buttons. Click the down arrow next to it to expand.
- A menu with Audio connection options, Agenda, and Scheduling options will appear. Click on each item to expand and select your preferred settings.
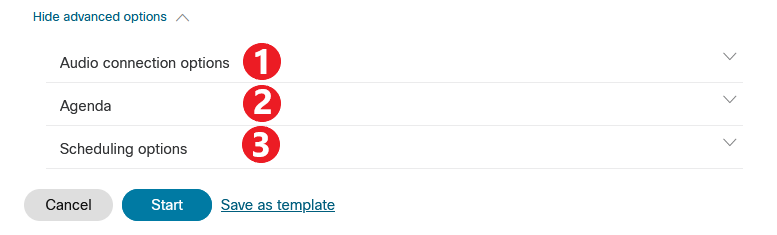
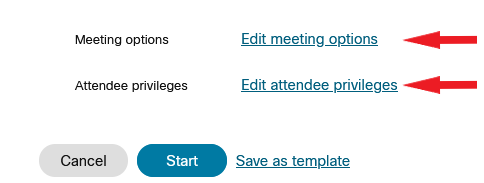
- Under Scheduling options, make particular note of Meeting options and Attendee privileges.
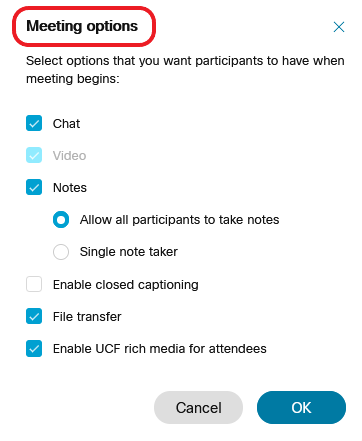
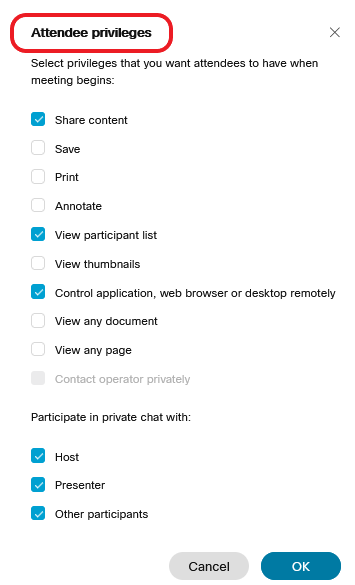
- Use the check boxes to select or deselect options and click OK.
- Click Schedule.
Meeting Templates
If you want to apply the same settings to multiple meetings or a meeting series, you can use the Meeting Template feature in Webex. To save meeting settings to a template:
- On your Webex dashboard, click Schedule a meeting.
- Select your preferred meeting configurations.
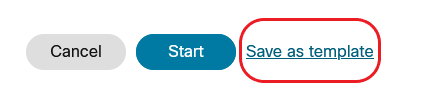
- Click Save as Template at the bottom of the page. You will be asked to name and save your new template.
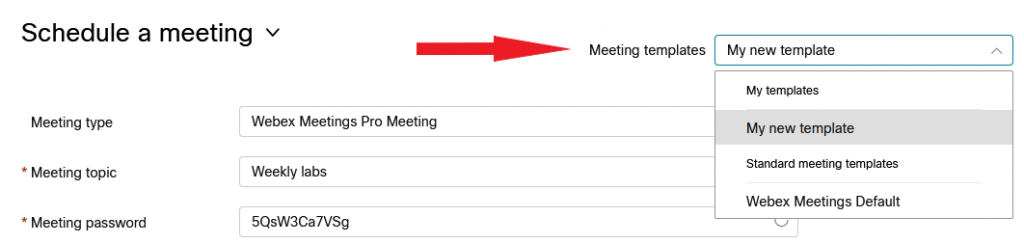
- The next time you schedule a Webex meeting, you can use your new template by clicking Meeting templates and selecting it from the dropdown menu.
> Setting Preferences During a Session
You can adjust meeting configurations after you have launched your session. These configurations can be found in the navigation bar at the top of the meeting window. Please note that some settings are only available once a meeting has been launched and cannot be preset (e.g. sound notifications, layout of panels).

Some of the available options are:
- Participant menu allows you to control participant audio and sharing capabilities.
- Meeting >> Options allows you to control participants’ ability to use chat, video, and notes.
- View allows you to control the layout of the meeting panels.
- Edit >> Preferences allows you to change participant sounds for entering/leaving the meeting, raising hand, posting a chat message etc.