Brightspace-Webex Integration
NOTE: Before you can start using Webex in Brightspace, you must first request a Webex account from Memorial’s Information Technology Services. Visit this page for instructions.
Integrating Webex into Your Course
Once your Webex account is set up, you can integrate Webex with Brightspace, which will allow you to schedule meetings and office hours and have your students join from within your Brightspace course site.
NOTE: If you are using a Brightspace course site developed by another instructor, Webex may already be integrated with that site. To check, go to the Communications menu on your course homepage and see if Webex is listed in the dropdown menu. If not, you can proceed with one of the options below.
There are three ways to integrate Webex into your Brightspace course. Click on the options below for details and video instructions.
Option 1: Activate the Course Navbar with Webex (easiest)
With three simple steps, you can add a link to Webex under the Communication menu in the course navbar.
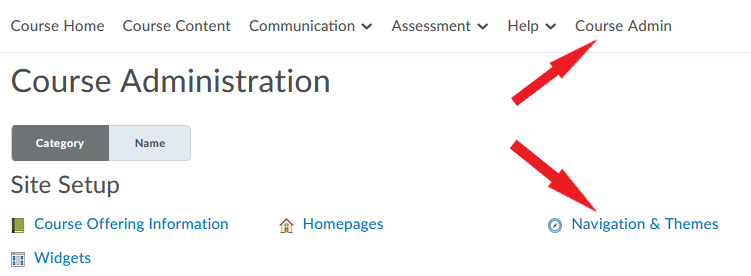
1) On your course homepage, go to Course Admin, then to Navigation & Themes.
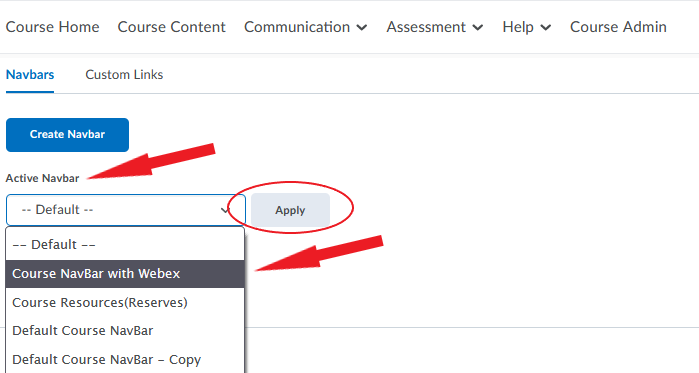
2) Locate the Active Navbar box on the page and click on it. A dropdown menu will open. Select Course NavBar with Webex from the menu and click Apply.
3) Your course site will now update with a link to Webex. You can find it in the navbar under the Communication tab.

Video Instructions for Option 1
Option 2: Add a Webex link directly to your course navbar
To add a Webex link directly to your course navbar, you first have to create a copy of an existing institutional navbar (steps 1-4 below), and then add a link to Webex to that copy (steps 5-9).
1) On your course homepage, go to Course Admin, then to Navigation & Themes.
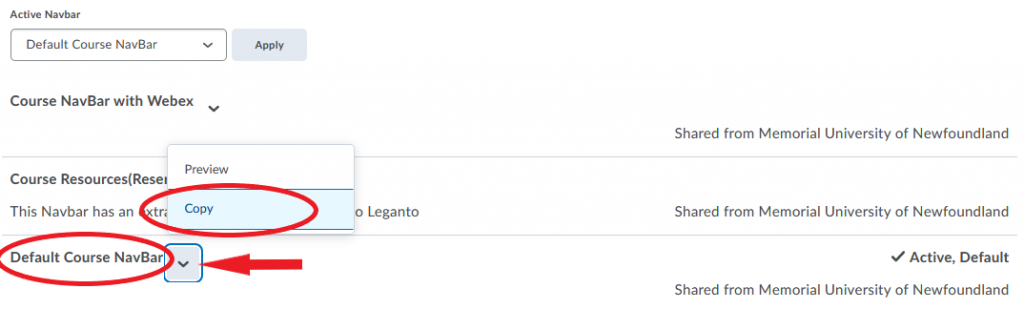
2) Locate the Default Course Navbar on the page. Click the downward arrow next to it and select Copy. NOTE: You can copy and edit other available navbars as well; we are using the Default Course Navbar as an example.
3) A new navbar will appear on the list. This new navbar will be named Default Course NavBar – Copy (you will be able to rename it later).

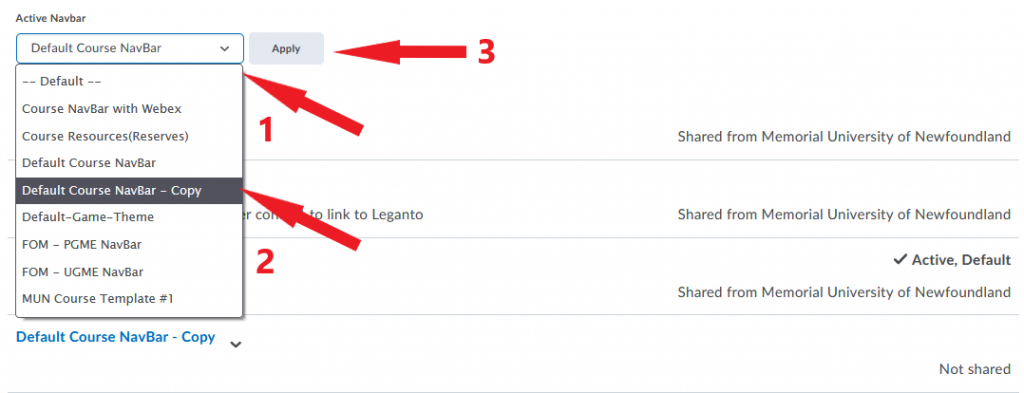
4) You now need to activate your new navbar. Locate the Active Navbar box on the page and click on it. A dropdown menu will open. Select the Default Course Navbar – Copy, and click Apply.
5) You are now ready to add a Webex link to your new active navbar. To do that, locate the Default Course Navbar – Copy on the page and click on it.

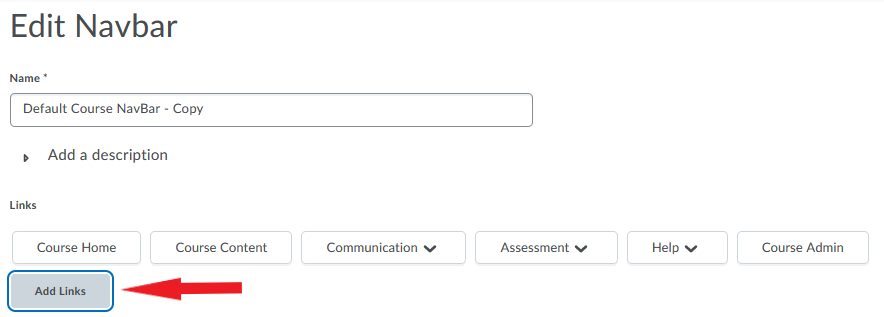
6) You will be directed to a new page. (You can rename your navbar here if you wish.) To add a Webex link, click Add Links.
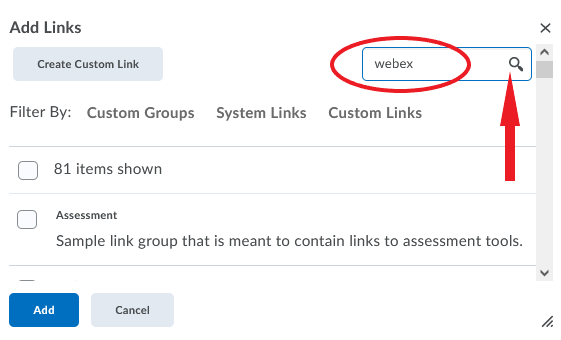
7) A window will pop up with a list of available links. Find Webex by scrolling down the list or by using the search box.
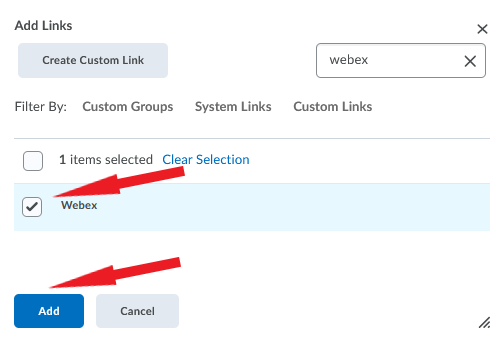
8) Once you find Webex, select it and click Add.
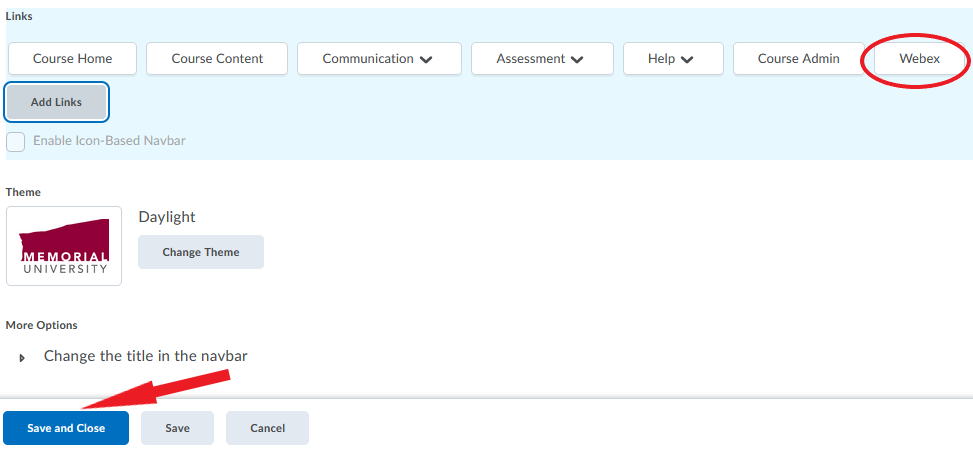
9) Click Save and Close. Your course homepage will now update with the Webex link directly in the navbar. NOTE: You can move the link to a different position in the navbar by clicking and dragging it.
Video Instructions for Option 2
Option 3: Add a Webex link to Course Content
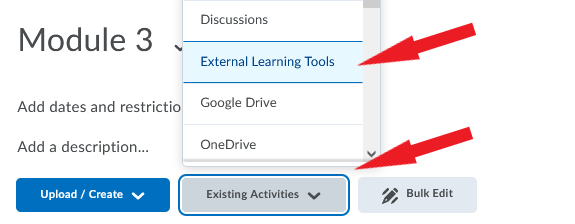
1) In Course Content, go to the module where you want to add a link to Webex. In that module, click on Existing Activities and select External Learning Tools.
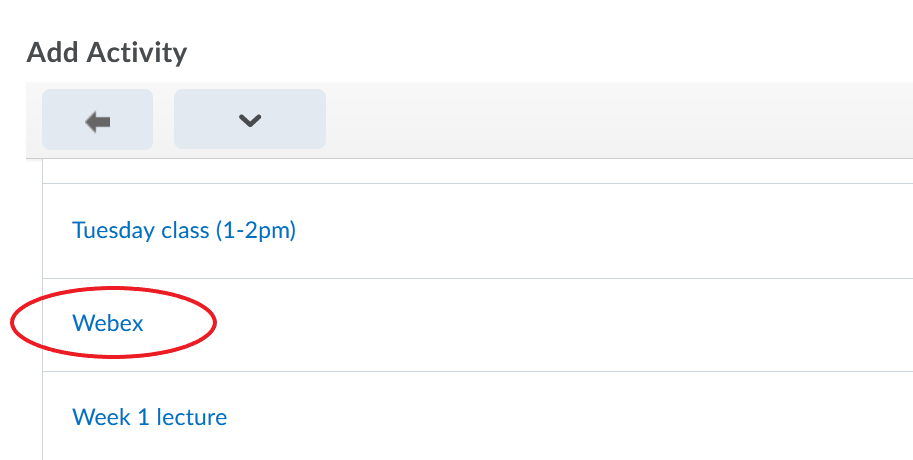
2) The Add Activity window will pop up. Locate Webex among the options on the list and click on it.
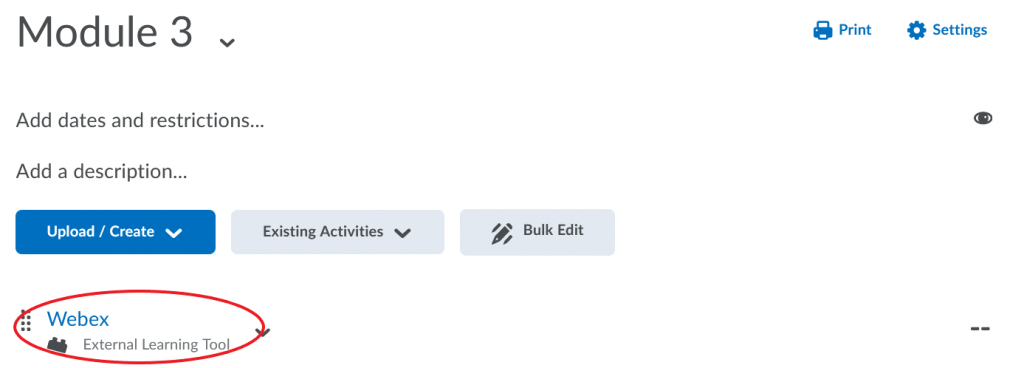
3) A link to Webex will now appear in the content module.
Video Instructions for Option 3
Setting up Webex in Brightspace
Once you have added a Webex link to your Brightspace course site, you will need to launch Webex from Brightspace to complete the setup process. The first time you link to Webex from within Brightspace, you will be directed to a setup page to complete the following steps (click each for details).
Step 1: Authorize Webex to sync with Brightspace
- You will be asked to provide authorization to Webex to communicate with Brightspace.
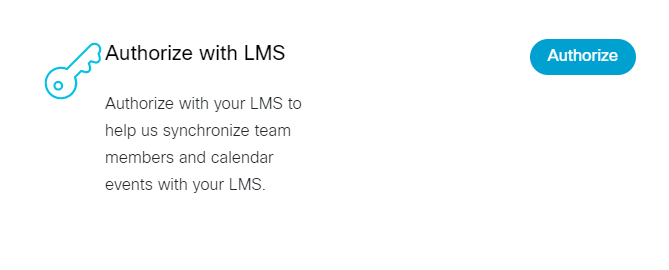
- Click Authorize.
- A window will appear asking your permission to allow Webex to use your account to perform tasks within Brightspace.
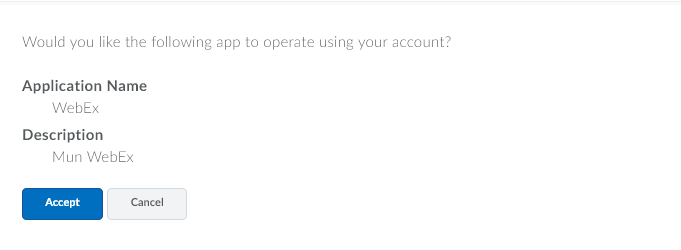
- Click Accept.
NOTE: Authorizing Webex for use in Brightspace is only required once as it is associated with your Brightspace account and not your specific course. You will not have to authorize Webex in any other courses where you opt to use Webex.
Step 2: Select the features you want to use in your course
Next, you will have to choose which features you want to use in your course.
- Selecting Virtual Meetings will allow you to host synchronous sessions from Brightspace.
- Selecting Office Hours will allow you to set up virtual office hours for your students.
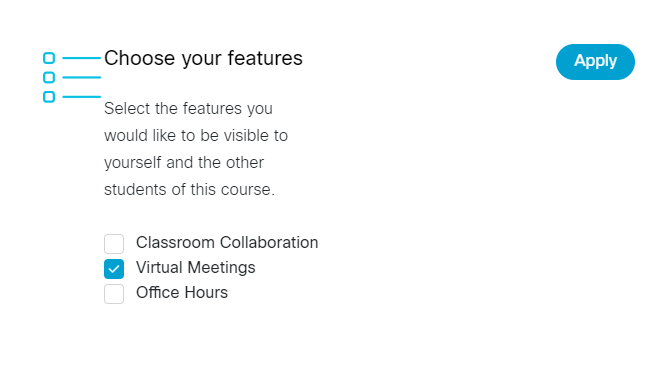
- Once you select the features, click Apply. The features should now appear just below your course navbar.
Step 3. Sync your time zone
This step will allow you to sync the Brightspace time-zone settings with Webex.
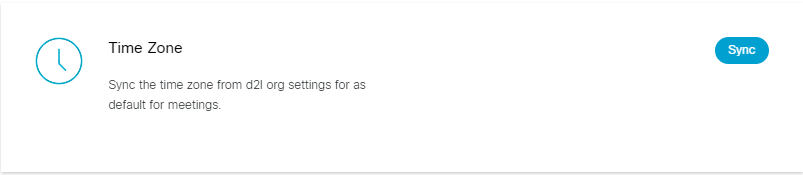
Click Sync. The meetings you create will now be created in the same time zone as Brightspace.
Congratulations! You are now set up to start using Webex in Brightspace.
NOTE: If you wish to use Webex in more than one course, you have to add a Webex link to each course individually. However, the setup process (Authorize, Choose Your Features, Sync Time Zone) has to be completed only the first time you add Webex to a course and does not have to be done with subsequent courses.
If you need any help with integrating Webex into your Brightspace course, please reach out to the CITL Support Centre.