Managing Your Webex Recordings
Taking stock of your previous Webex recordings can result in identifying elements that may be helpful in future offerings of your course. For recordings you would like to keep, it is recommended that you download them from the Webex system. This resource will guide you through the process of downloading, editing, and sharing your recordings.
What You Can Download
Recorded demonstrations or lectures on a specific topic where students are not visible, and/or interacting in the lecture can be downloaded for future use. In these cases, instructors are encouraged to chunk content into usable elements, keeping them to no more than 15 minutes in length whenever possible (see the section on editing Webex recordings on this page). You are not permitted to share recordings of students or guest speakers in your class without their consent. Hence full Webex recordings of past classes should not be downloaded and reused. These recordings can confuse students, as the activities and/or conversations captured are outside the context of the current course.
How to Download Recordings
One feature of the Memorial Webex environment is the ability to download recordings as mp4 files. This resource illustrates the process of downloading the mp4 file associated with a session that you recorded. You can download session recordings either directly from Webex or from Brightspace. Click on the menu items below for details on each method.
> Downloading from Webex
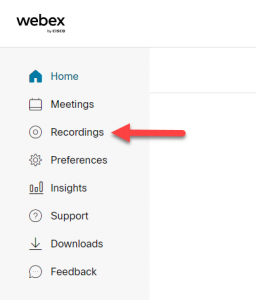
The ‘Webex Dashboard’ is a site where you can create and manage your meetings and recordings. You can access the dashboard by going to https://mun.webex.com, selecting the Sign In button and using your Mun Login credentials to authenticate. Note: Do not use your MUN Login alias (e. g., zoem@mun.ca). Once logged in, select the Recordings button on the left menu. This will take you to the My Recorded Meetings page.
The My Recordings Page will display all of the recordings associated with your Webex account. Find the one you wish to download and select the ![]() icon to start the download process.
icon to start the download process.
If there are multiple items to download, you will be asked to specify what you want to download. Note: Multiple items will be downloaded as separate files.
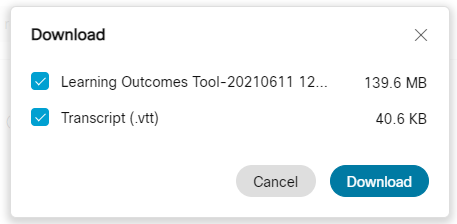
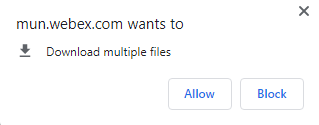
Depending on your browser settings, you may be asked to allow the downloading of multiple files. Select Allow to download a video and a transcript.
Your files will be downloaded to your specified location (typically the Downloads folder associated with your browser).
Video Instructions
> Downloading from Brightspace
Recordings can also be downloaded via the Brightspace-Webex integration. NOTE: Only meetings created and recorded via this integration will be available in Brightspace.
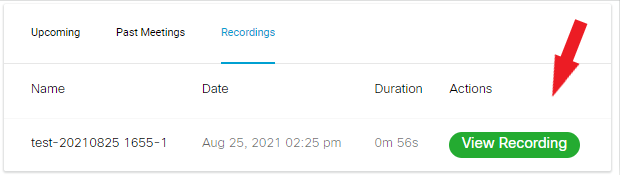
- In your Brightspace course site, go to Webex and select the Recordings tab.
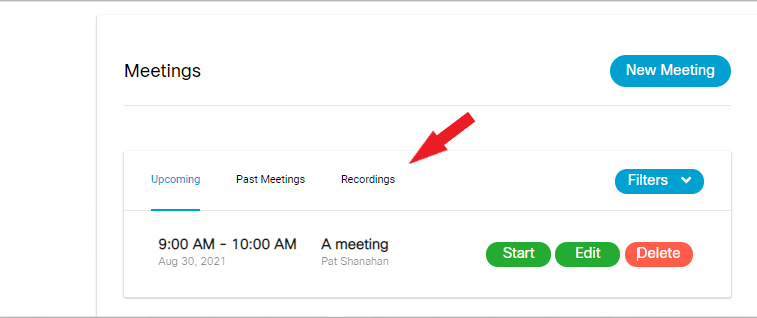
- A list of all recordings associated with this course will appear. NOTE: Recordings take 24-48 hours to appear in the course.
- Select View Recording next to the recording you would like to download.
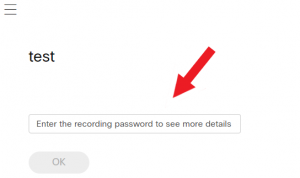
- A new window will appear. Make note of the password, and press the Copy and then View Recording.

- A new page will appear. This is the page to watch your recording. Enter the password and press OK.
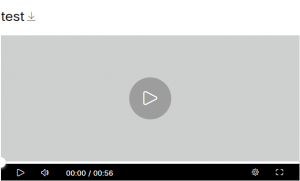
- The next page to load will be your recording. On the top of the page to the right of the title a download button will appear (
 ). Click on it to start downloading the video to your computer.
Video Instructions
How to Trim Recordings
After you have downloaded the Webex recording to your computer, you can trim them by following the steps below.
> Trimming Videos on a PC
Windows 10 Video Editor is a free software available on all Windows 10 computers. The steps below outline the process for trimming your Webex recordings.
NOTE: Before you begin trimming a recording, make a note of the location where the recording is saved on your PC.
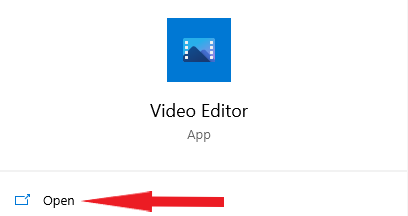
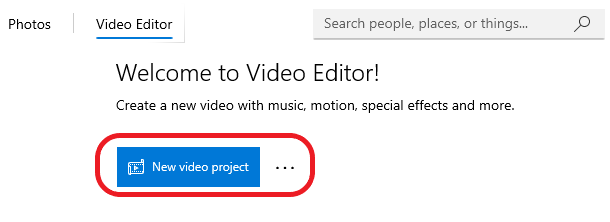
- Locate the Video Editor app on your computer. If unsure of its location, search ‘video editor’ in your Windows search bar. Click Open to start the application.
- Choose New Video Project.
- Name your project and click OK.
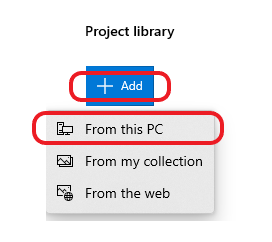
- To add your Webex recording to the project, click +Add and select From this PC. Locate the correct file on your computer.
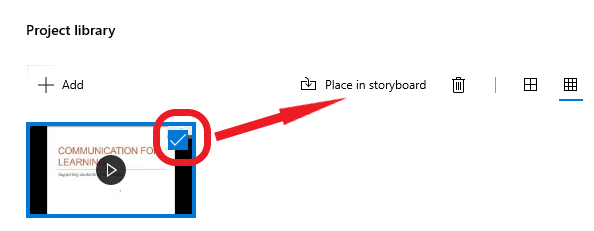
- A video thumbnail will appear in the Project Library window. Select the thumbnail and click Place in Storyboard, or click and drag the recording down to the Storyboard along the bottom.
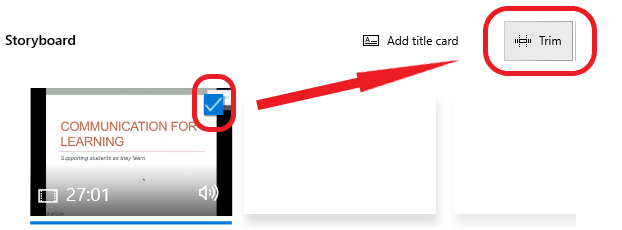
- Using the Storyboard tools, select the video thumbnail and choose the Trim tool. The Trim window will open.
- Slide the Start and End trim markers to the start and end points of the section of the recording you want to keep. You can preview the clip by selecting the Play icon. You can also scroll through the clip.

- Once you have the clip start and end points marked, click Done. The edited clip will appear on your Storyboard. Note that the duration of the clip has changed from the original time to the new edited time.
- When you are finished, select Finish Video in the top right corner of the page.
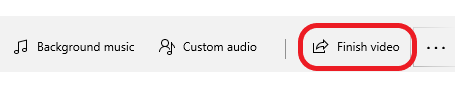
- In the popup window, select Video Quality: Medium 720p. That is the optimal quality for uploading to your Brightspace course site. Click Export.
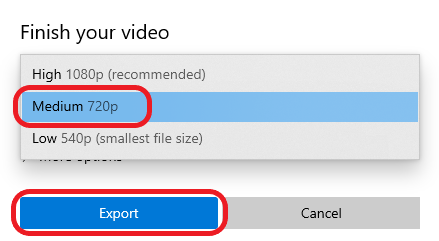
- Choose a name for you file and the location where to export the video. Click Export.

The video file can now be uploaded to your Brightspace course site using the Self-Service Video Hosting tool.
For more information on using the Windows 10 Video Editor, view this tutorial.
Video Instructions
> Trimming Videos on a Mac
To trim your recordings on a Mac, follow the steps below.
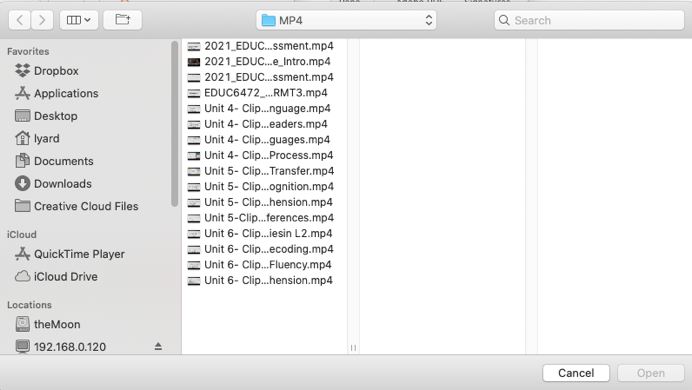
- Open Quicktime Player.

- When prompted, select the video file you want to edit.
- Once you have the video loaded in Quicktime, go to the menu bar and select Edit>Trim.
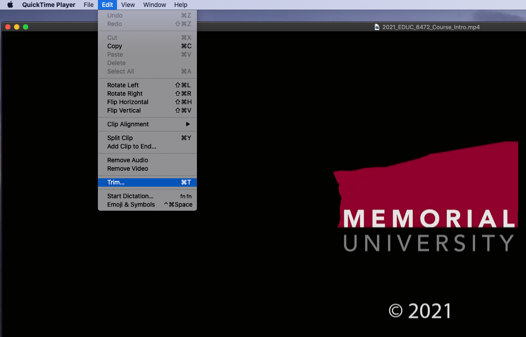
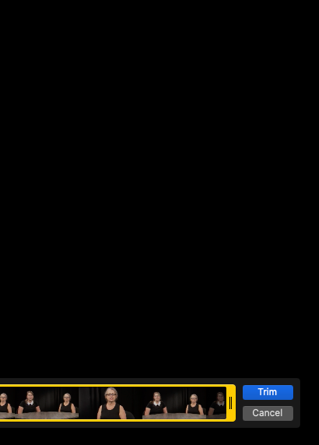
- A yellow trimming window will appear at the bottom of the screen. You will see thumbnail images of your video in this yellow window.
- You can press the play button in the lower left-hand side to play your video. When you have identified the area you want to trim, move the yellow handles on either side of the trimming window to move to where you want your video to start and end. When you trim the video – the new video will be what is inside the yellow window.
- Press Trim on the right-hand side of the trimming window and you will create a new video.
- Go to the menu bar and select File>Save As to save your video.
The video file can now be uploaded to your Brightspace course site using the Self-Service Video Hosting tool.
Video Instructions
How to Share Recordings with Students
Once your videos are ready to be shared with students, you can add them to the appropriate place in your Brightspace course. Please note that unlike PowerPoint, Word, and other files, video files should not be uploaded directly to the Brightspace course site.
It is recommended that instructors first upload their recordings to a streaming service, preferably the CITL’s Self-service Video Uploader tool. Once the videos are uploaded, you are encouraged to link or embed them on a content page in Brightspace. The reasons for this approach are as follows:
- Quality when streaming directly from Brightspace can be poor, especially in areas with poor internet connection.
- It may make content very slow to load.
For any additional information about Webex, please contact CITL Client Support.