Brightspace Media Library
The Media Library is a tool in Brightspace where instructors can add, store, and edit audio and video recordings used in their courses. The editing tools available in the Media Library allow instructors to trim recordings, divide them into chapters, and generate closed captioning. The Media Library supports files up to 2GB in size, but keeping uploads below 1GB is recommended to ensure faster uploads and a smoother experience for students.
The Media Library is not course-specific; recordings from all courses are stored together.
NOTE: Videos added to Brightspace courses via the Media Library are available for students to download. For instructors who do not wish to share downloadable videos in their courses, we recommend using the CITL Video Uploader. Videos added through this uploader can only be streamed, but not downloaded.
Accessing the Media Library
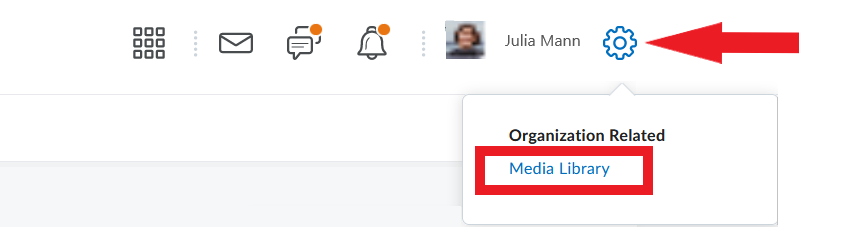
To access the Media Library in Brightspace, click the Settings icon located in the top right corner of the screen and select Media Library from the dropdown menu.
Adding Recordings to the Media Library
Recordings can be added to the Media Library in three different ways:
- Instructors can upload recordings from their device.
- Instructors can create recordings directly in the Media Library.
- Recordings created in other course tools in Brightspace (e.g., Content, Assignments) are automatically added to the Media Library.
> Uploading a Recording to the Library
To upload a recording to the Brightspace Media Library:
- Click the Settings icon in the top right corner of the page, and select Media Library from the dropdown menu.

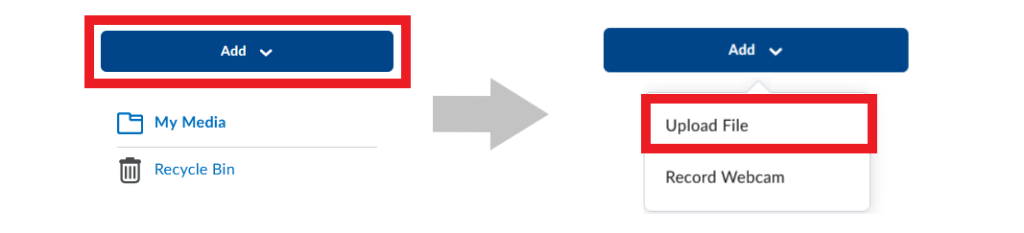
- Click the Add button and select Upload File.
- Select a file from your device and add it to the Media Library.
> Creating a Recording in the Media Library
To create a recording directly in the Media Library:
- Click the Settings icon in the top right corner of the page, and select Media Library from the dropdown menu.
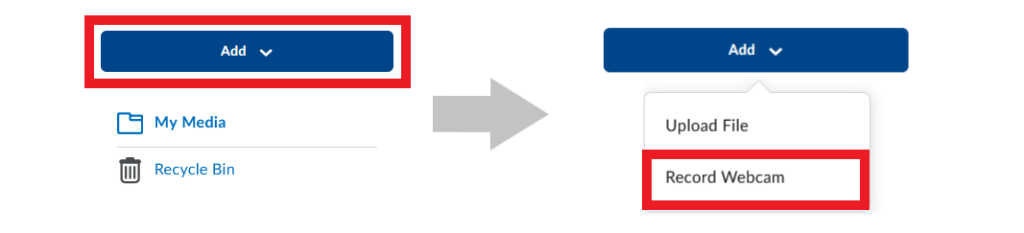
- Click the Add button and select Record Webcam.
- Click New Recording to record your video. Your video can be up to 30 minutes long.
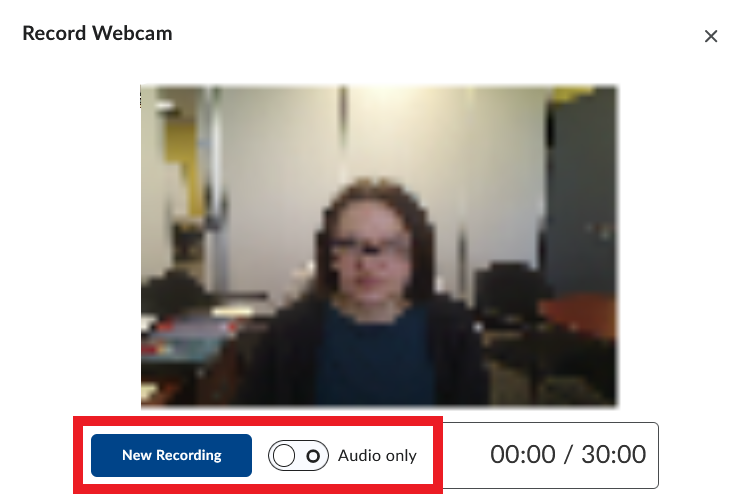
NOTE: You also have the option to create Audio-only recordings. Audio recordings can be up to 5 minutes long.
> Recordings Added Through Other Brightspace Tools
Some recordings added by instructors to a course using other Brightspace tools are automatically added to the Media Library. This includes:
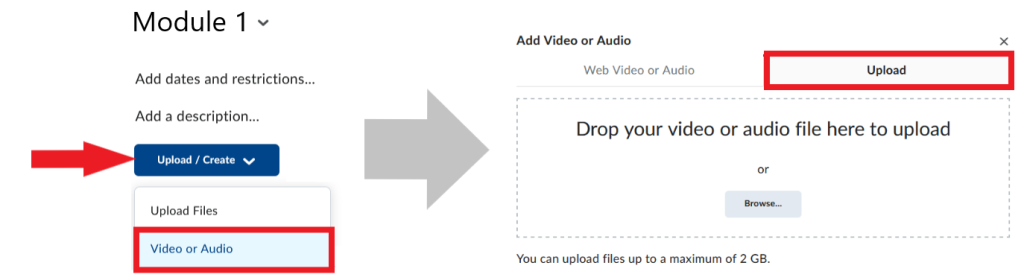
- Recordings uploaded via Content > Upload/Create > Video or Audio
NOTE: Recordings added to a course via Content > Upload/Create > Upload Files and recordings uploaded through Course Admin > Manage Files are not added to the Media Library. Those methods are not recommended for adding media files to Brightspace.
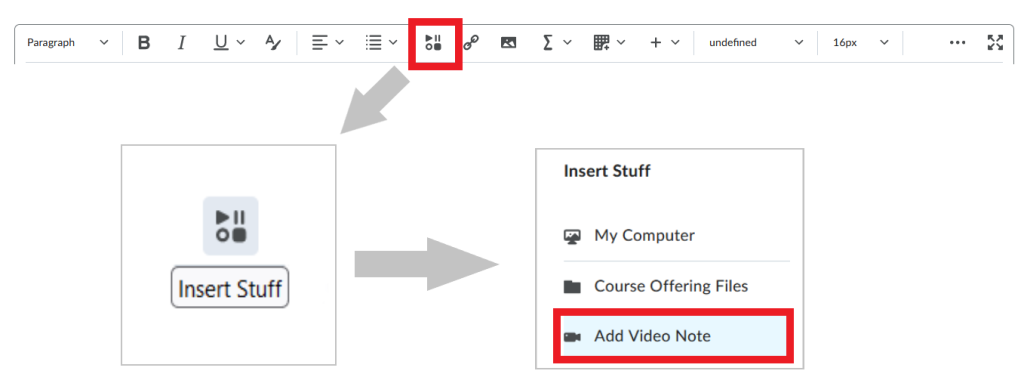
- Recordings uploaded or created via the Insert Stuff > Add Video Note function in the Brightspace editor.
Editing Recordings in the Media Library
To edit a recording directly in the Media Library:
- Go the Media Library by clicking the Settings icon in the top right corner of the page, and selecting Media Library from the dropdown menu.
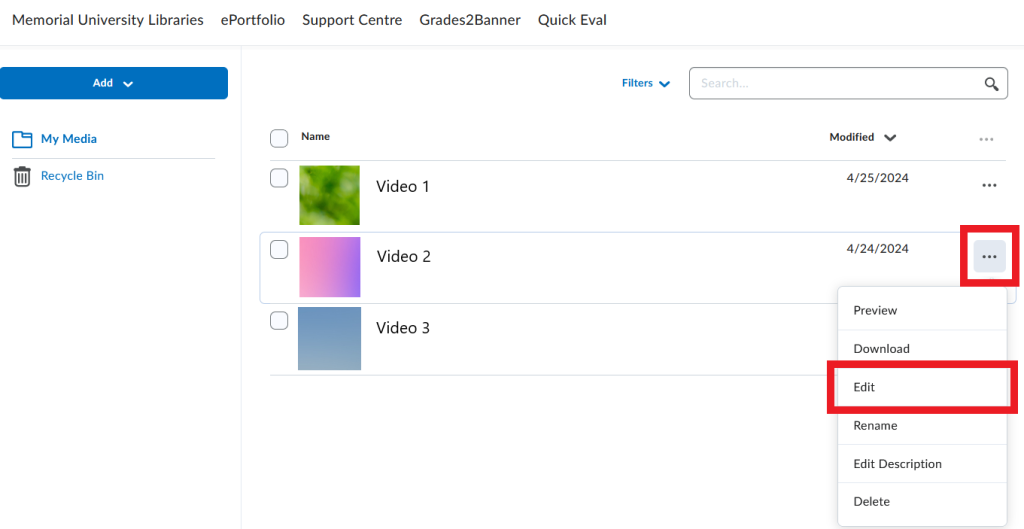
- Click the three-dot icon next to the video you want to edit, and select Edit from the dropdown menu that opens.
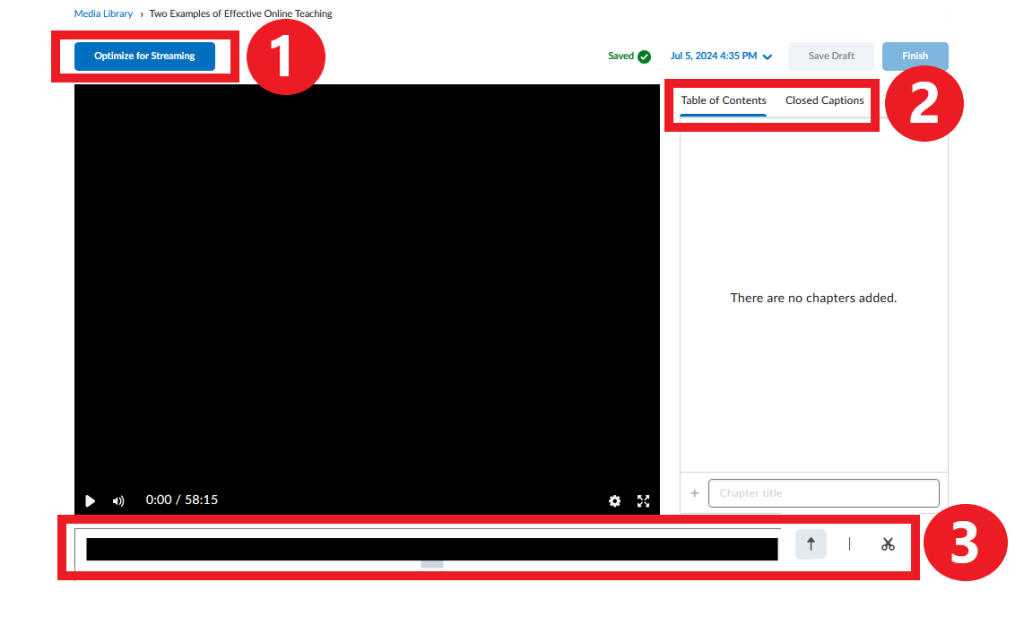
- The editing tools are located in three different areas of the editing window, as indicated in the image below.
- The Optimize for Streaming option coverts the video to a format more compatible with Brightspace, which improves the streaming experience for students.
- Under the Table of Contents tab, you can mark transitional points in the video by adding chapters. This function allows you to indicate to viewers the different parts of the video (if any). Under the Closed Captions tab, you can generate or upload closed captioning for the recording.
- You can trim the video using the tools located next to the timeline at the bottom of the page. For details, please see below.
How to Trim a Video
The tools needed to trim a video are located at the bottom of the page next to the video timeline. The tools are Seek, Mark, and Cut. Click the appropriate tool to activate it.

- Seek – This tool allows you to navigate to different parts of the recording along the timeline.
- Mark – Use this tool to mark specific times in the video, e.g. the beginning and the end of a segment you want to cut out.
- Cut – Once you have marked the segment of the video you want to delete, select Cut. The segment to be deleted will be highlighted. In order to delete it, click Finish at the top of the page.