CITL Video Uploader
CITL has created a video service available for instructors to host short, self-created video lectures. The system allows instructors to upload video files to the server; the videos are then processed and made available for internet streaming. Once conversion is complete, an embed code is provided that allows the video to be embedded into a Brightspace course site.
Each instructor receives 30 GB of space for storing lectures and has the ability to add or remove from this list as needed. Individual video uploads are capped at 1 GB per file. Instructors are encouraged to retain a copy of the original recording after uploading it to the server as once the video is converted, it cannot be downloaded in its original form.
NOTE: A typical 15 minute video encoded at 720p (the maximum quality that can be streamed) should be about 200MB per file. If your video is significantly larger than this, you should transcode it to maximize your storage space, and improve the student streaming experience. You can find instructions on how to transcode to 720p in our FAQ.
For details on using the Video Uploader tool, open the menu items below, or refer to the video tutorials at the bottom of this page.
> Accessing the Video Uploader
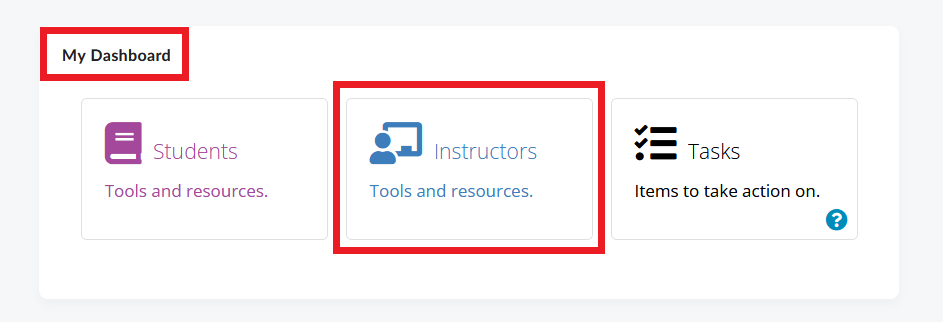
- To access the Video Upoader tool, go to Brightspace and locate the My Dashboard widget. Click the Instructors tile inside the widget.
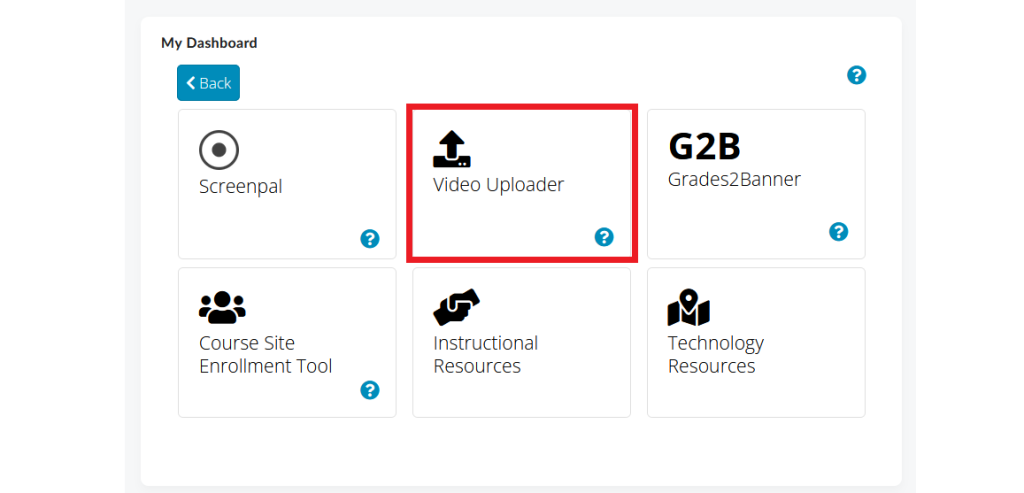
- On the next page, select Video Uploader. This will take you to the Instructor Tools portal.
- Read the disclaimer, and click Let’s Get Started to begin.
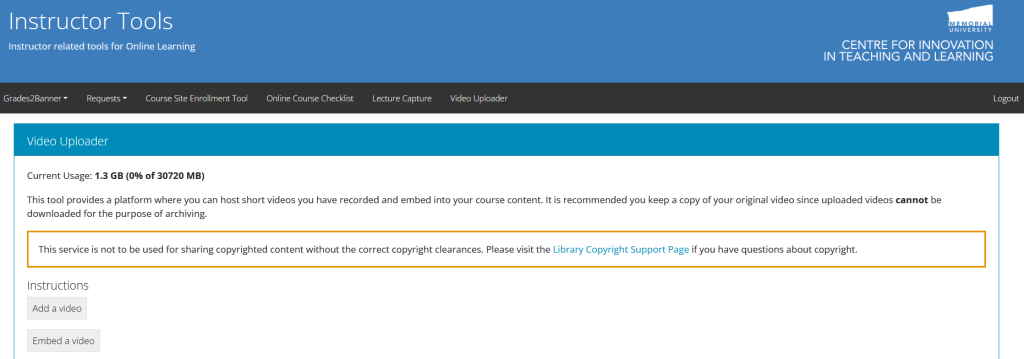
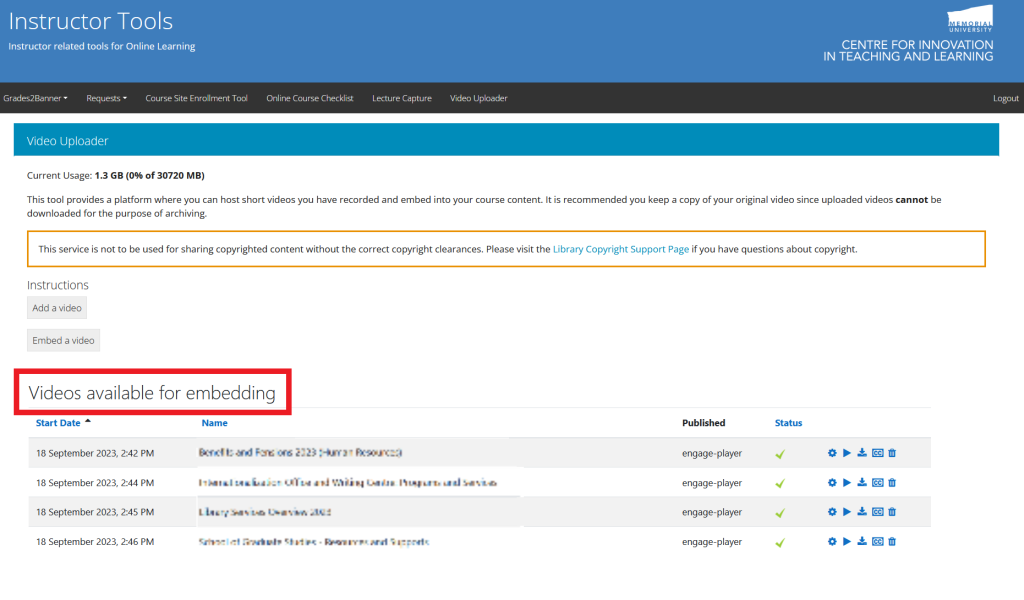
The next screen is the Video Uploader dashboard. On this screen you can see:
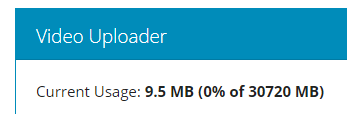
- how much of your quota is in use on the server
- which videos are currently being uploaded to the server (if applicable)
- which videos are processed, and ready to be embedded.
> Uploading Your Video to the Server
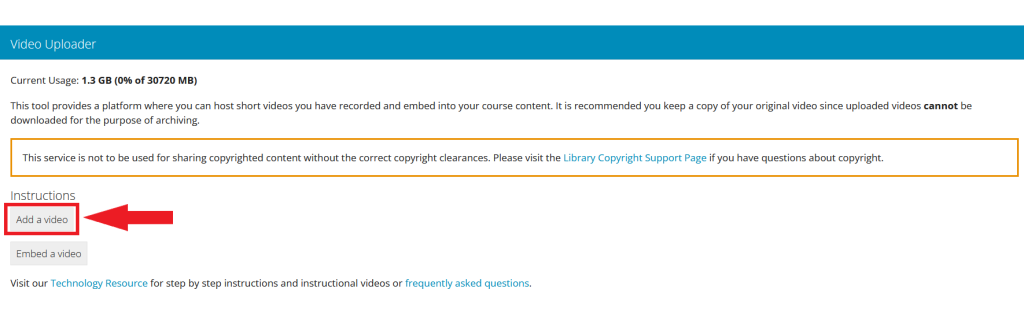
On the Video Uploader page, click Add a Video. Step-by-step instructions will appear on the screen. Follow these instructions to upload your video to the CITL server.
> Embedding Your Video in Brightspace
Once your video has been uploaded and processed, it will appear in the Videos available for embedding section of the Video Uploader page.
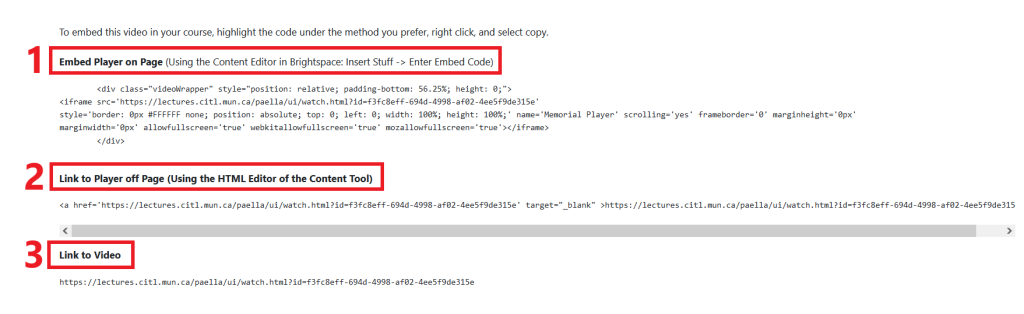
There are two options for making your videos available to students:
- Embedding the video on a content page in your course, which will allow you to include text and context around the video. This option will enable the video to play on the same page as the content;
- Adding a link to your course site, which will open a new window that will show your video.
To access the embed code or link, click the embed icon ( ![]() ) to the right from the video you would like to embed.
) to the right from the video you would like to embed.

Select the embed code (or link) that matches the method of sharing you prefer.
Once you have your embed code:
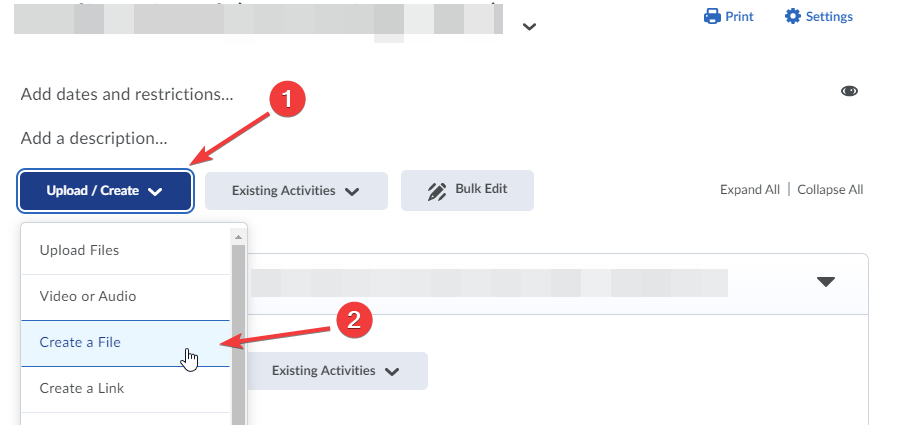
- Return to your Brightspace course site and go to Content.
- Create a new page, or select an existing page to edit.
- On the content page, click on the location where you would like to embed your video.
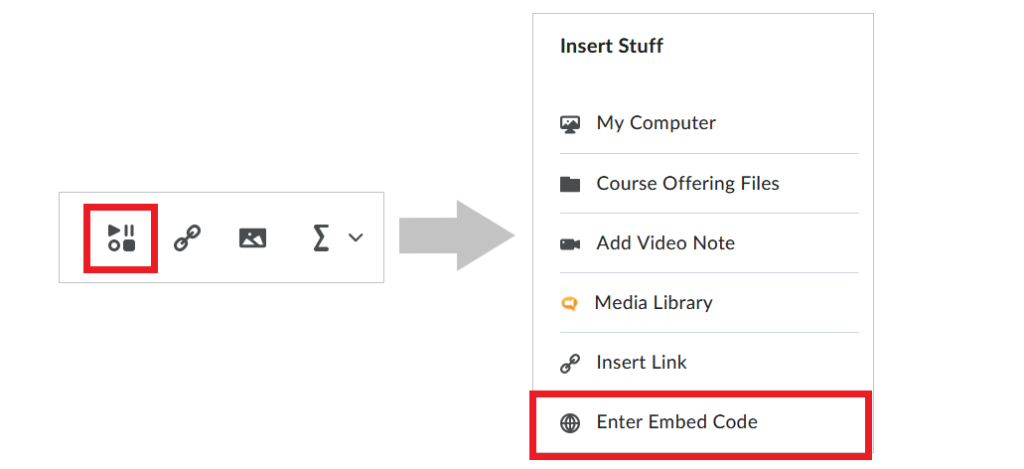
- Click the Insert Stuff button in the toolbar and select Enter Embed Code from the menu.
- Paste your embed code into the box that pops up and click Next.
- You will be shown a preview of your embedded video.
- Click Insert. This will add the video link to your content.
- Once you are finished making edits to the page, click Save or Save and Close.
> Managing Your Videos
As you upload videos to the server, you will notice that your quota listed at the top of the page will fill up.
Your quota is determined by the file sizes of your final processed file (not the original file size of your upload). The upload process automatically converts your video into a number of stream-friendly formats for different student bandwidth situations. The goal is to ensure that no matter what internet connection type your students have, they will be able to watch your video.
Across from the videos listed in the Videos available for embedding table you will see a number of options:
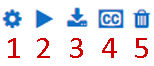
- Update metadata for this video – this button will allow you to edit the title, and other optional metadata for the video
- Play video – this button allows you to review the video
- Embed code – this button generates embed codes for your video
- Closed Captions – this button allows you to upload a closed captions file to your video
- Delete video – this button allows you to delete the video from the system freeing up the space in your quota, but breaking any video embed you have placed in your courses.
NOTE: Care should be taken when deleting a video that it is no longer needed for your students. CITL does not retain a copy of the original video so when it is deleted, it is unrecoverable. If you need the video embedded again, you must upload it from the original source file.
> Closed Captions
By clicking on the closed captions button next to a video, you will be presented with an upload screen like the one seen below.
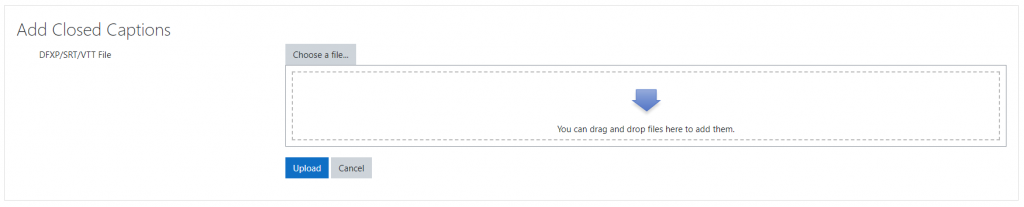
Here, you can upload a generated closed caption file in DFXP, SRT or VTT file formats. Once uploaded, your students will than have access to a transcription and closed captions option they can use within the player.