Microsoft Photos – Simple Video Editor for Windows 10
If you are running Windows 10 and looking to make some simple edits to your videos before publishing them, you can use Microsoft Photos as your video editor.
Once you have installed and launched Microsoft Photos, you will see a default gallery of photos found in My Pictures. On the top left of the window, click the Video Editor button to enter that mode.
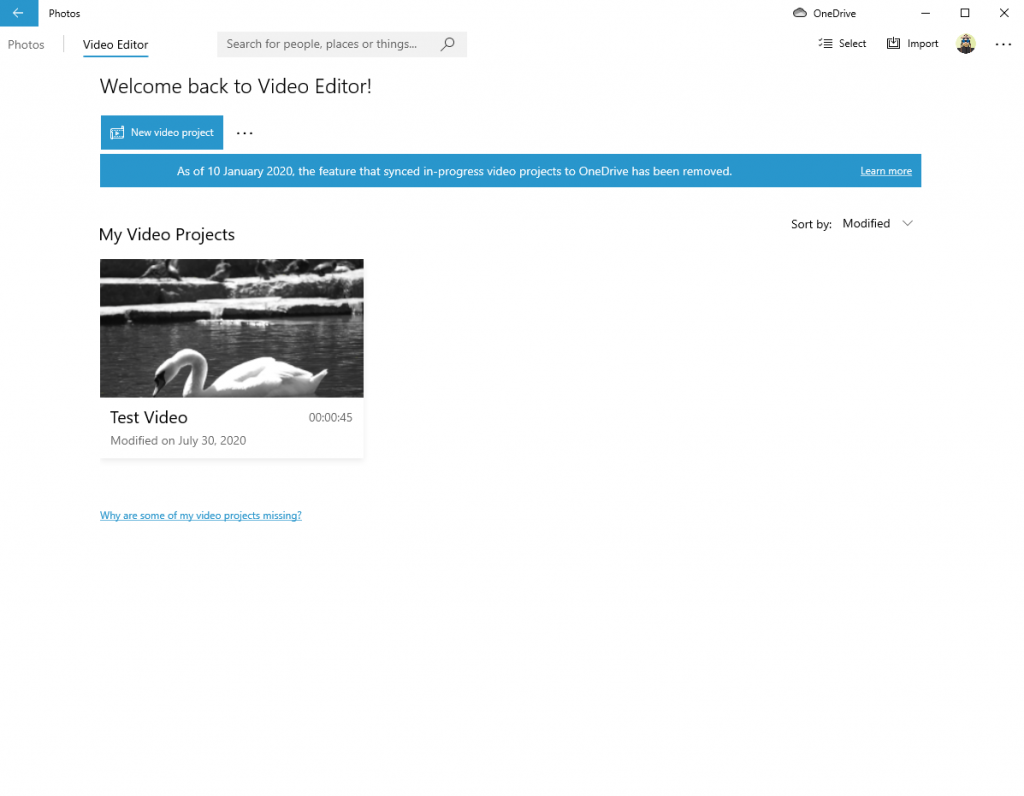
The first screen you will see after entering the Video Editor is where you will create or open existing projects. Click New Video Project to start your first project.
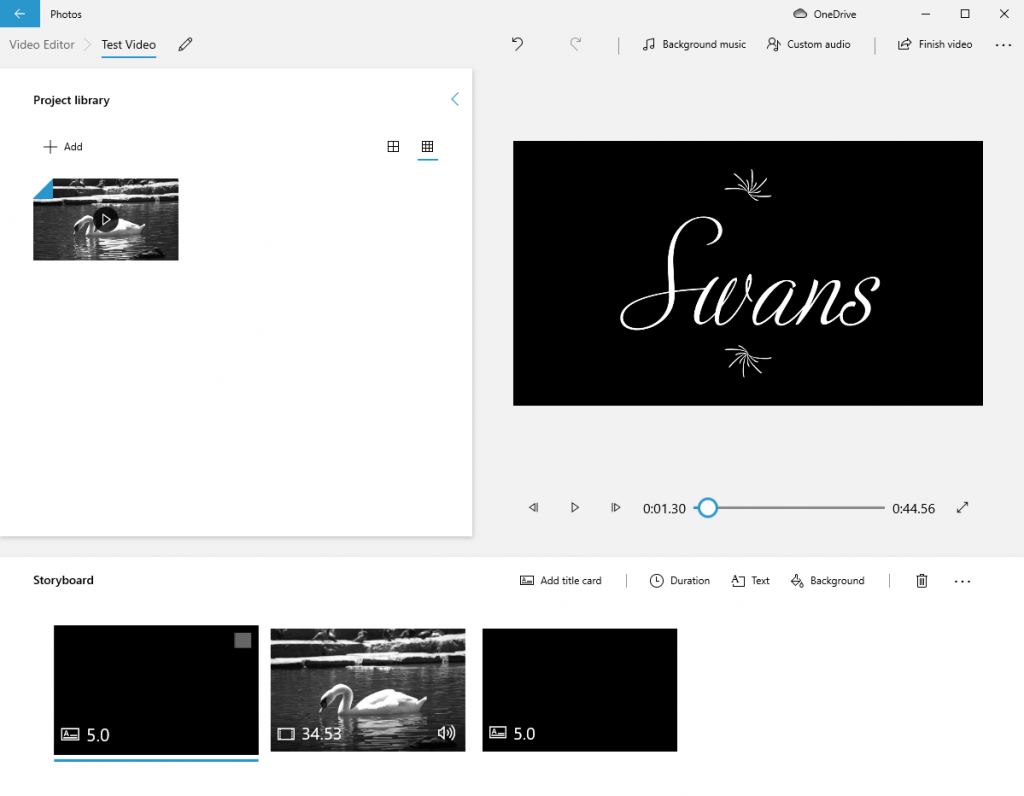
Once you create or open an existing project, you will see the Editing View. From here, you can import and access your videos and then drag them into the storyboard at the bottom of the window. You can also arrange their order, trim them and then add titles, effects, and background music. On the right-hand side, you can playback your video project until you are happy with the results.
When you have finished your project and wish to export your video, click Finish Video.
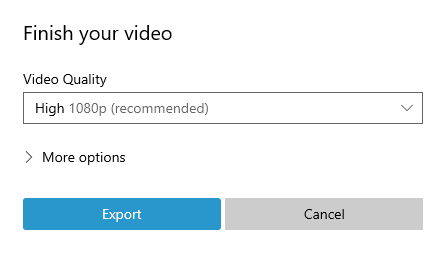
Before you can pick a location for your finished video, you will need to choose its quality. Is is highly recommended that you choose 1080p which is a high definition resolution. After you pick a location and begin exporting, depending on the length of the video, the process can take a while. When it is complete, the video should appear to provide you with the option to watch it and make sure there are no issues.
Additional Resources
- Microsoft Photos: Download
- YouTube Playlist: Video Editing in Microsoft Photos