While editing an HTML page, place your cursor in the area of the page where you would like to insert the image. Using the Brightspace editor, click on Insert Image.
Insert image
From the Add a File window, click My Computer to access an image that is stored on your computer (Alternatively, you can click Course Offering Files to access a file that is already stored in the course offering files area.)
Click Upload. Locate and select the image you wish to upload. Click Open. Clicking Choose Destination will enable you to change the folder where the file will be stored in your course offering files. Click Add.
You will be prompted to provide alternative text for the image. Alternative text is important for students who may be accessing the course through the use of assistive technologies, such as screen readers. Please try to be as descriptive as possible. When done, click OK.
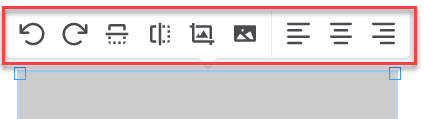
Once the image is inserted in the page, clicking on the image will display a pop up menu that will enable you to make minor modifications, such as resize or crop.
Popup edit menu
Be sure to save your changes when finished by clicking Save or Save and Close at the bottom of the HTML editing window.