Using Webex in the Classroom
Webex is an online meeting platform used at Memorial to teach synchronous classes, hold meetings, and conduct virtual office hours. For more information about Webex, please explore the resources available under Communication.
Some on-campus spaces, including classrooms, are equipped with a Room System—a video conferencing solution that allows the entire class to join a Webex session using the room’s camera, microphones, and display. Unlike a personal device, a Room System is not a computer, but dedicated equipment designed specifically for video conferencing; the most common brand used on campus is Polycom.
Webex Features Not Available in a Room System
While a Room System provides a high-quality, shared conferencing experience, connecting to Webex this way differs from joining a session on a personal device. Some of the missing or hidden features include:
- Moderation controls
- Chat, Q&A, polling
- Participant list
- Limited layout control
If you join a Webex session as a participant, you may not need access to all features; however, these are typically important when hosting sessions. For this reason, if you plan to host a session using a Room System, it is recommended that you also connect from a secondary device (such as a laptop) to access host controls. Alternatively, you can designate another participant joining from a different location to act as the host if moderation is required.
Sharing Content When Using a Room System
You will be able to share content with other participants from the Room System, but the process will vary depending on the room’s design. There may be a connected computer that will be the content source or you may have to use your own laptop. In general, participants can share the following through the Room System:
- the desktop/entire screen
- specific applications (e.g. Word, PowerPoint)
However, participants cannot share individual files through the Share File feature.
Please reach out to your room’s technical support for additional instructions.
Connecting to Webex from a Room System (Touchscreen or Remote)
Required Information
Before connecting to a Webex session, make sure you have the following information available:
- Webex Address: This is the hostname or IP address that you use to connect to the Webex service.
- Meeting Number: This is the unique number generated for the meeting or the one assigned to your Personal Room in Webex.
- Host Key (Optional): This is a unique number that allows you to join as host and start the meeting. It is not needed if someone else scheduled the meeting and is joining from another location. The Host Key can be found in your meeting information on mun.webex.com. A link at the bottom of your email invite will also bring you directly to it. NOTE: For security reasons, the host key can change if the host leaves and rejoins an active meeting.
Process
When you are ready to connect to a session, follow the steps below.
- Choose ‘Place a Call’
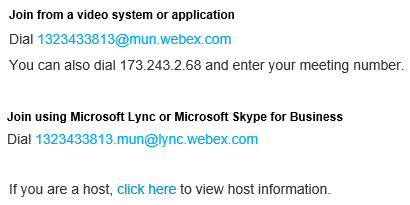
- Dial meetingnumber@mun.webex.com or 173.243.2.68
- You will see and hear the Webex landing page upon connection
- Press the # button on the remote or touchscreen to activate touchtone input
- An onscreen image of a keypad will appear
- Enter the Meeting Number provided, then push #
- You will then be prompted to enter a Host Key which you can enter and press # again
- If a Host Key isn’t required, press # to skip
- You will enter the virtual meeting room and others will be seen as they enter
- You may need to hit the back button to disable touchtones
Troubleshooting Tips
| Problem | Solution |
| The video quality of attendees is poor. | Disconnect and reconnect the call. There is a chance the handshake to dictate quality wasn’t successful. |
| I want to see more participants onscreen. | Use the touchtone command found in this article to change your layout, though the layout options are limited. |