Grading Discussions
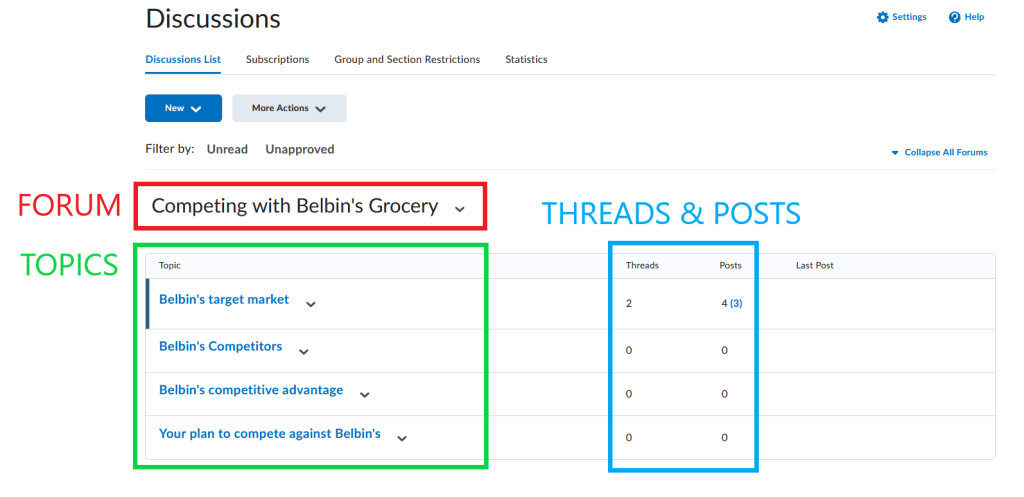
NOTE: Only discussion topics can be graded. Discussion forums cannot be graded.
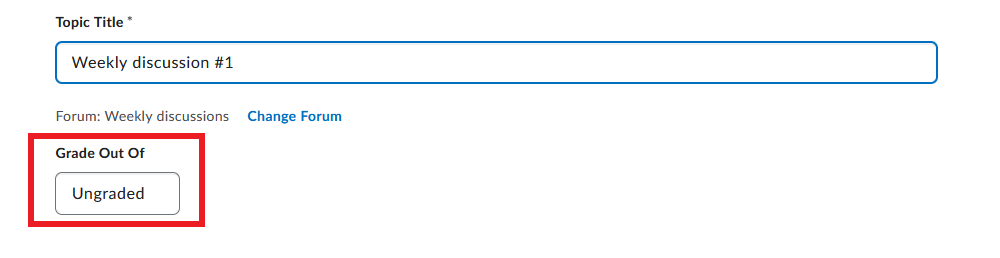
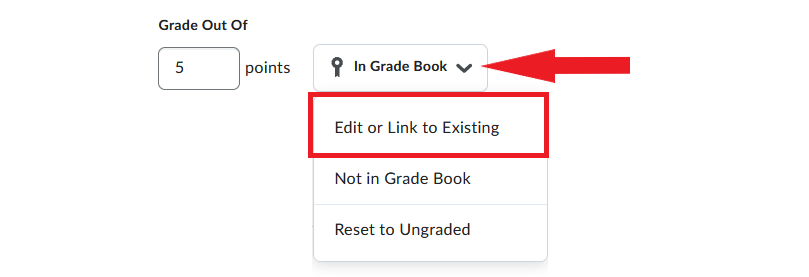
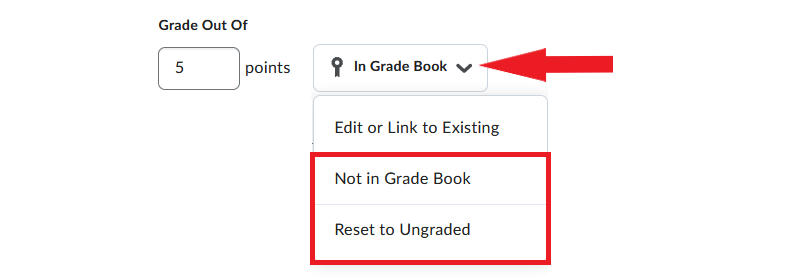
Students’ discussion posts can only be graded if a topic has been set up as ‘gradable’. For instructions on configuring a topic, visit the Create a Topic page in this resource.
Discussions in Brightspace can be evaluated in two different ways:
- You can grade by topic, where you review all comments/replies a student has posted in a topic, and give them an overall grade for their contribution.
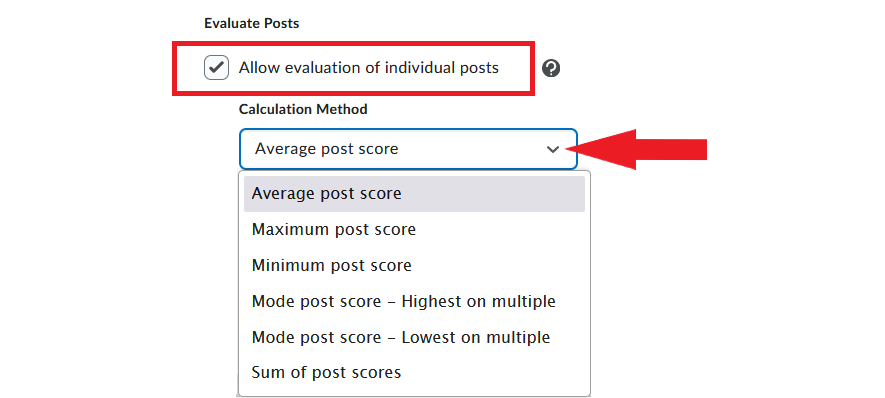
- You can grade individual posts within a topic, and let Brightspace calculate each student’s overall grade based on the calculation method you had selected when configuring the topic.
1. Grading by Topic
- Log in to Brightspace and navigate to your course.
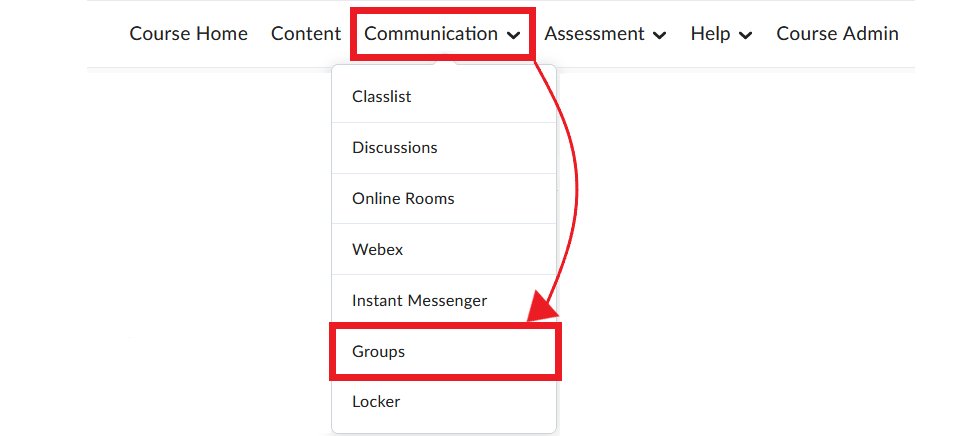
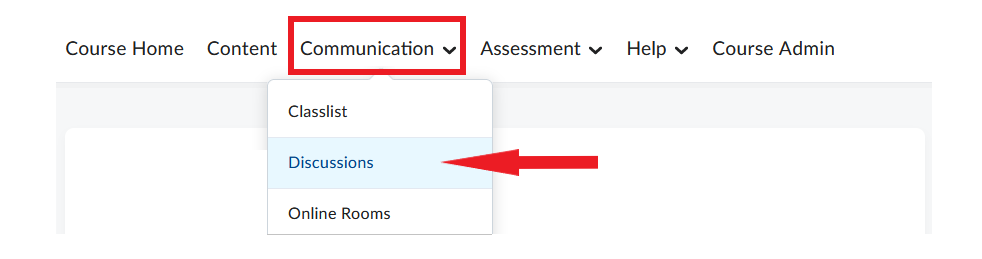
- In the course navbar, click Communication and select Discussions from the dropdown menu.
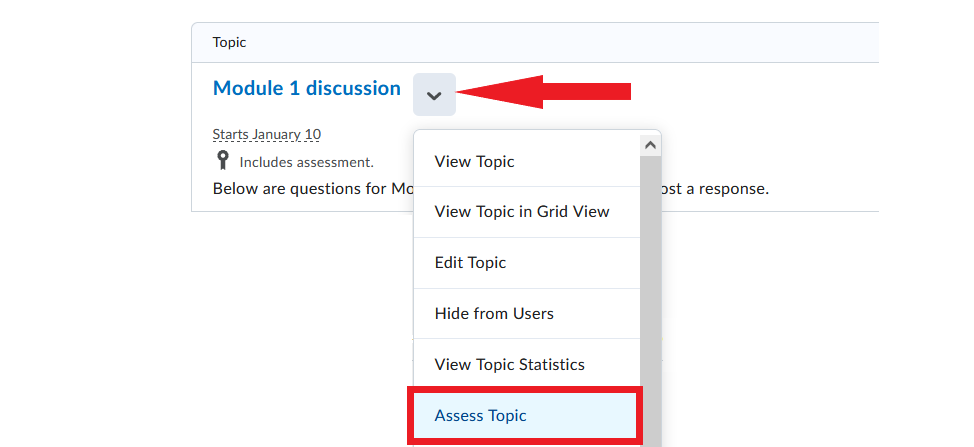
- Locate the discussion topic you want to grade, and click the downward arrow next to it. Select Assess Topic from the dropdown menu.
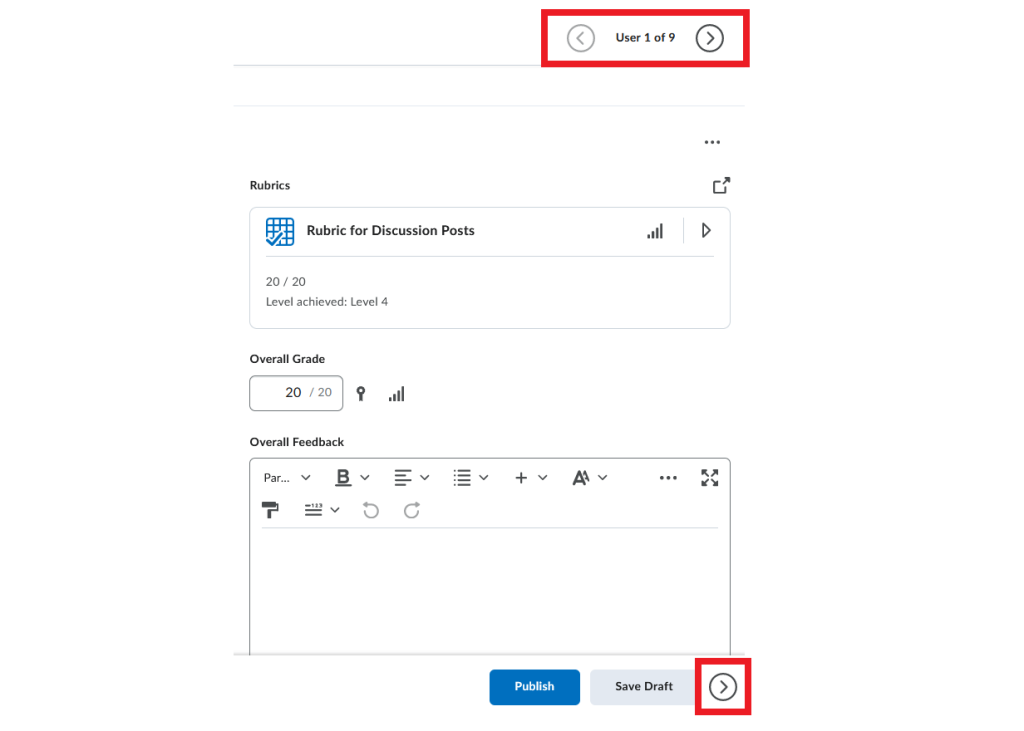
- Locate the name of the student you want to assess and click Topic Score under their name.

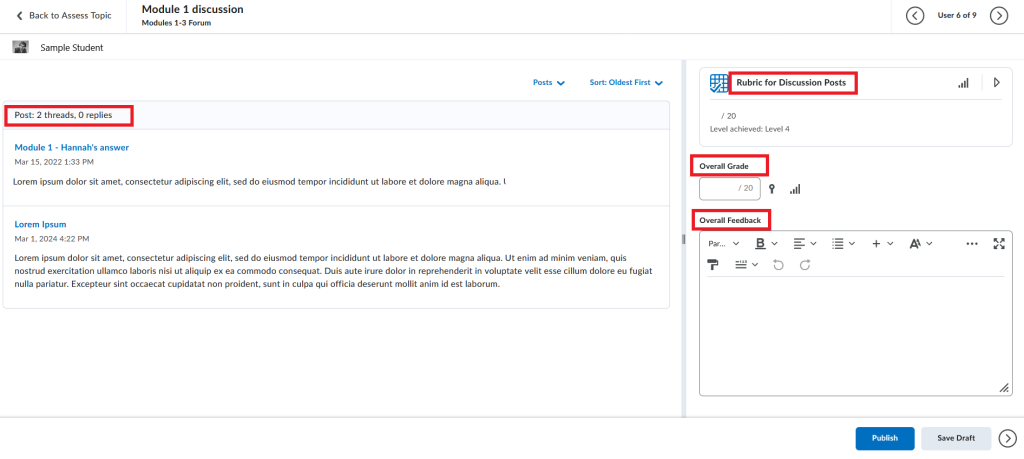
- An evaluation window will open. The window will contain the selected student’s discussion post/posts for this topic. If the topic has a rubric attached to it, you can use it here for evaluation. If you are not using a rubric, manually enter the grade in the Overall Score field and optionally enter feedback in the Overall Feedback field.
- Click Publish or Save Draft at the bottom of the evaluation window to save the grade and feedback.
NOTE: Selecting Publish makes the grade visible to the student whose post (or posts) has just been evaluated, and, if applicable, also sends the grade to the grade book. Thus, the student would receive their grade before other students in the class.
It is recommended that you select Save Draft instead – this option saves the grade and feedback, but does not make it visible to the student. Once you have finished evaluating all students’ posts, you can publish all grades at the same time.
- Once you have finished evaluating one student, proceed to the next one by using the arrows at the top or bottom of the evaluation window.
2. Grading Individual Posts
- Log in to Brightspace and navigate to your course.
- In the course navbar, click Communication and select Discussions from the dropdown menu.
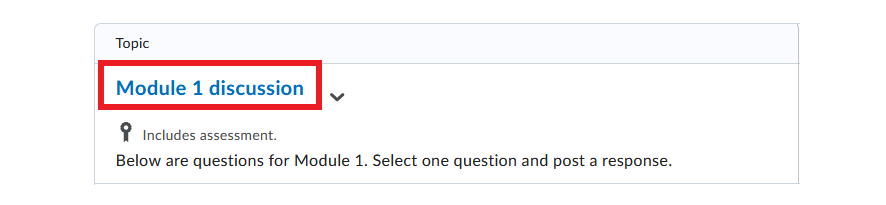
- Select the discussion topic you want to grade.
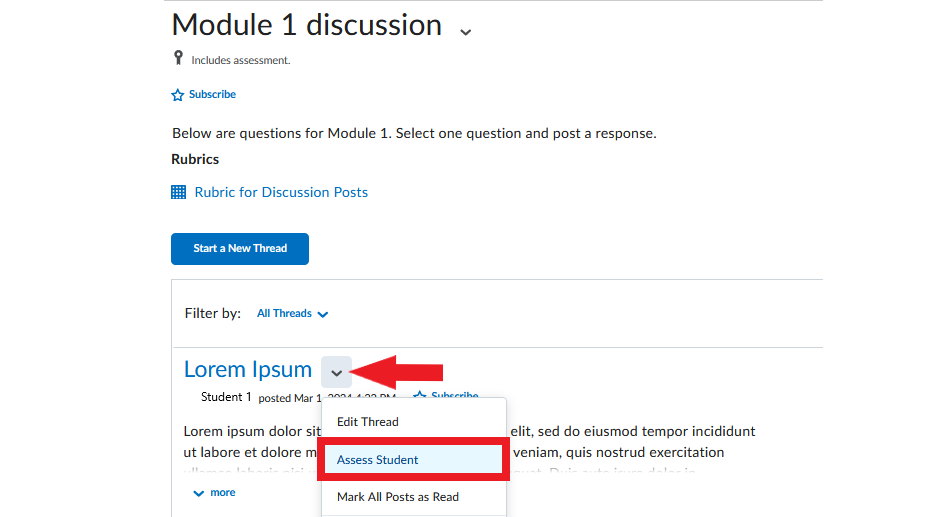
- Locate the discussion thread you want to grade (a thread = a student’s original post plus any replies to it). Click the arrow next to the thread title and select Assess Student from the dropdown menu.
- An evaluation window will open. The window will contain the selected student’s discussion post(s) for this topic. Score each individual post, and the system will calculate the Overall Grade according to the calculation method you selected when configuring the topic. If the topic has a rubric attached to it, you can use it here for evaluation. If you wish, add feedback in the Overall Feedback field.
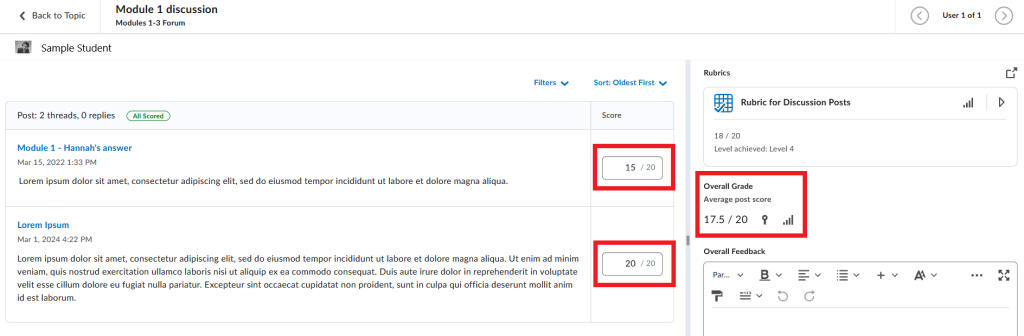
- Click Publish or Save Draft at the bottom of the evaluation window to save the grade and feedback.
NOTE: Selecting Publish makes the grade visible to the student whose post (or posts) has just been evaluated, and, if applicable, also sends the grade to the grade book. Thus, the student would receive their grade before other students in the class.
It is recommended that you select Save Draft instead – this option saves the grade and feedback, but does not make it visible to the student. Once you have finished evaluating all students’ posts, you can publish all grades at the same time.
- Once you have finished evaluating one student, proceed to the next one by using the arrows at the top or bottom of the evaluation window.
Publishing Discussion Grades
When you have finished grading all students contributions to a discussion topic, you can publish all their grades at the same time.
- In the course navbar, click Communication and select Discussions from the dropdown menu.
- Locate the discussion topic you have finished grading, and click the downward arrow next to it. Select Assess Topic from the dropdown menu.
- At the top of the page, click Publish All Feedback.
Video Instructions
This video illustrates how to grade and provide feedback in Discussions.