Basic Branching and Merging
The basic idea of branching and merging is to be able to take projects offline to do independent development or bug fixes with affecting the main trunk of a project. In many cases this development can go on for an extended period of time and you want the ability to make minor changes and tweaks to the production version of the project without breaking it. Lets run through an example of branching using the command line and merging it back into the main project.
To begin, run the command below to create a new branch:
git checkout -b branch01
(This is shorthand for git branch branch01 | git checkout branch01)
This will create a new commit line starting from the last commit in your repository. There is a handy timeline tool in GitLab for visually seeing this divergence and convergence of branches.
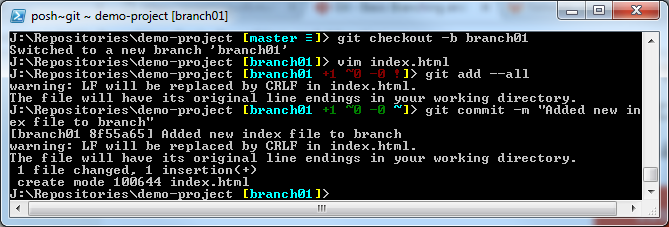
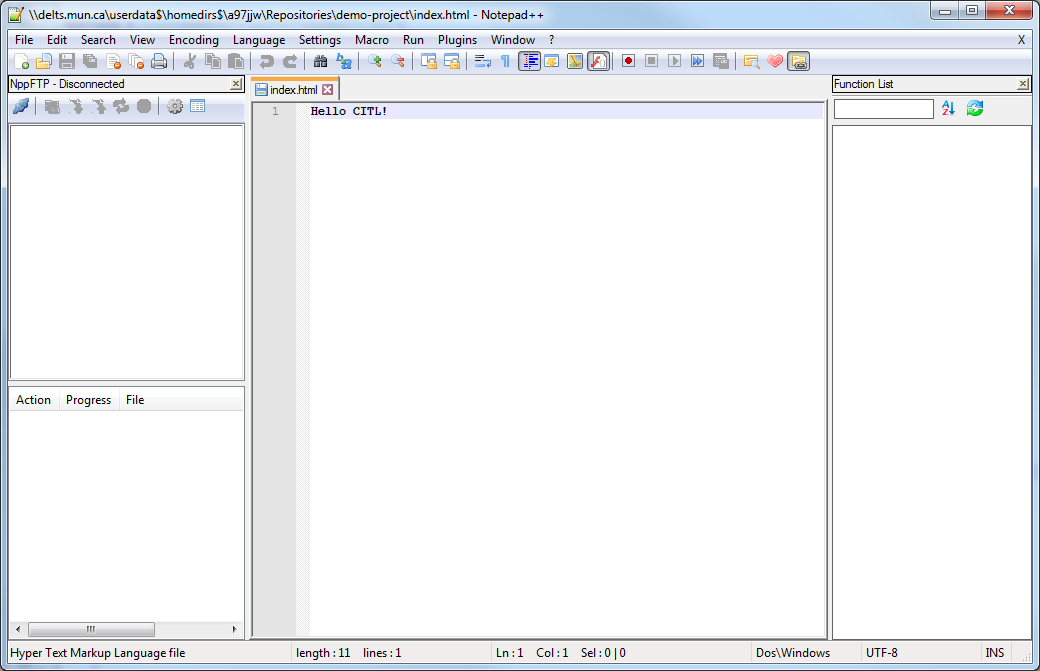
Lets add a file to the project called index.html and commit it.
vim index.html (unix style text editor, you can use your favorite editor to create this file, this step doesn’t matter)
git add –all
git commit -m “Add new index.html file to branch”
Your screen should look similar to the image below:
Lets push this to the server before going any further.
git push origin branch01
During the work we did on this, another person made some changes to the master branch. We now need to merge these changes together.
git checkout master
git merge branch01
git branch -d branch01
git push origin master
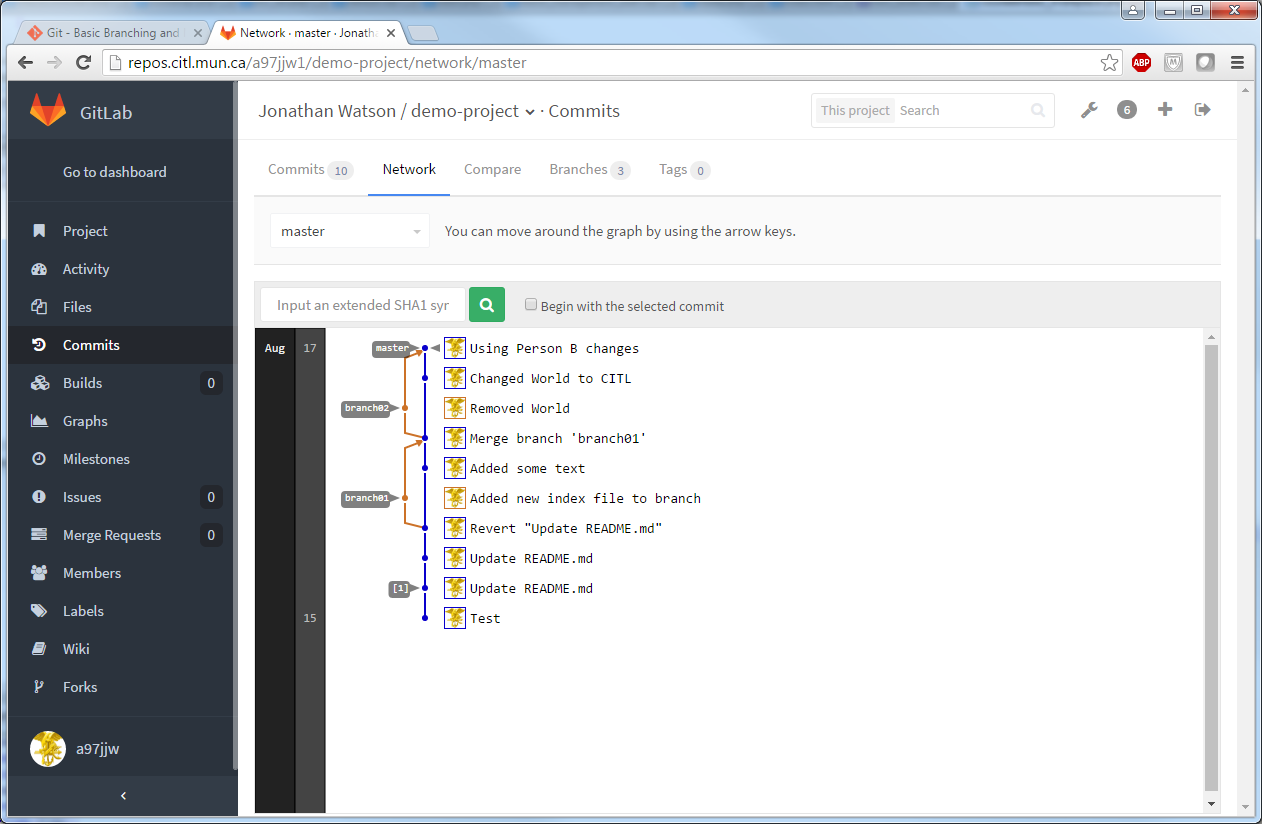
So what happened above is that we switched back to the master branch and merged it with branch01. Whenever you finish with a branch, you should delete it to keep your repository clean using the -d flag on the branch command. We then pushed the project back to the server. If we look at the visual tool in GitLab, we can see what actually took place.
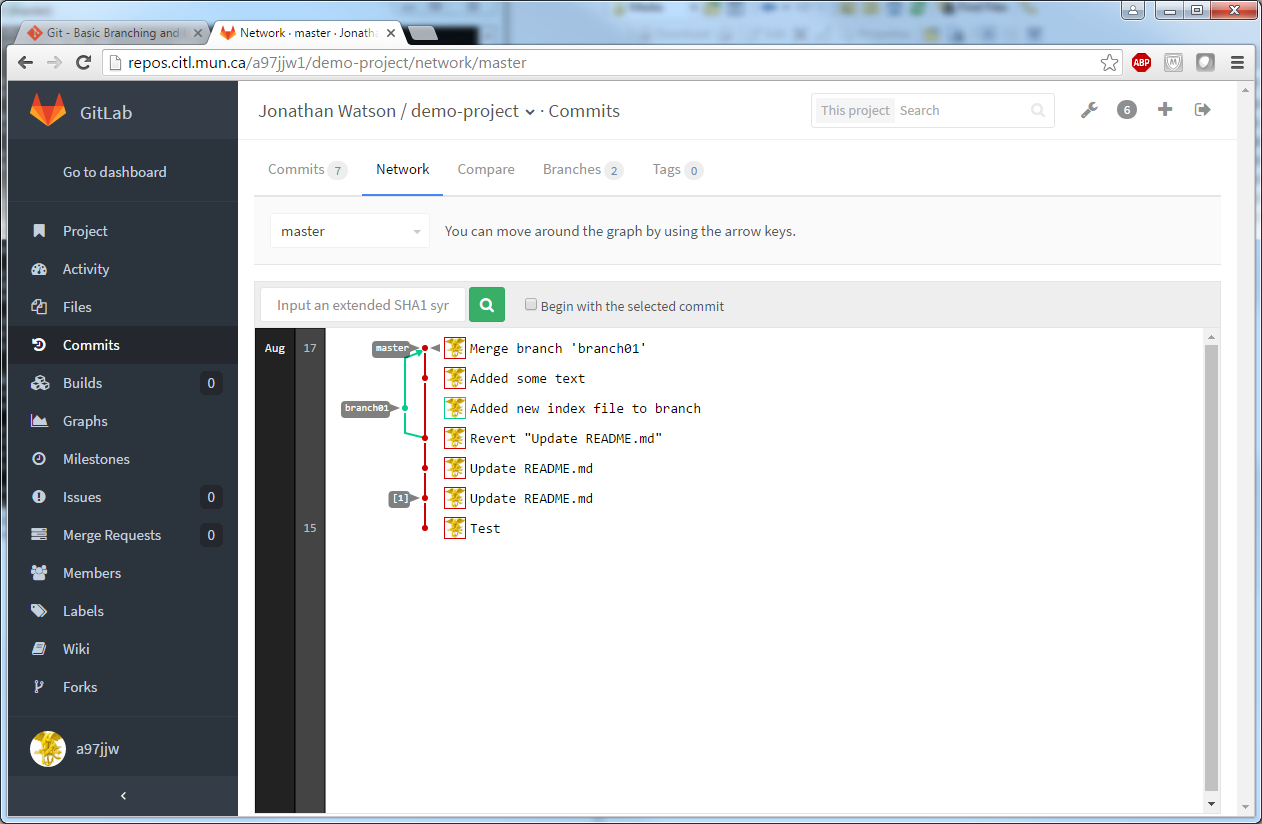
The timeline diverges at the fourth commit. You can see the parallel development taking place before merging them back together. If you coordinate your development correctly, this process will run very smoothly. Occasionally however, you will run into merge conflicts that will need to be resolved before proceeding.
Basic Merge Conflicts
Lets look at the case illustrated below in the visual tool in GitLab.

Two people have been making changes to the project. Person A created a branch and removed the word World from our index.html file. At the same time, Person B has changed the word World to CITL. What we are left with is a merge conflict for Person A who now wishes to merge their branch back into master.
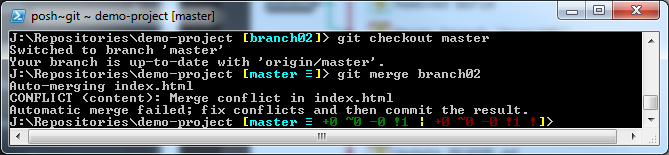
Here we see Person A has attempted the merge and the automated process has failed. This is forcing us to go into the affected files and make the necessary corrections.
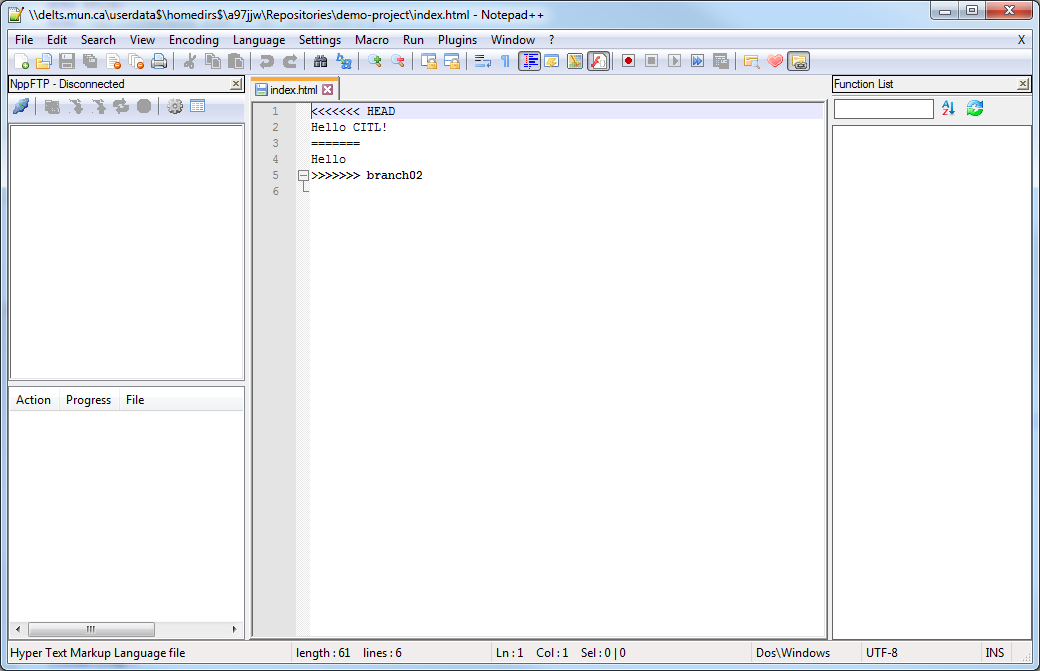
What Git has done for us is place conflict-resolution markers around the code it could not auto merge. At the top is the HEAD or master branch and at the bottom is branch02. After a discussion with Person B, it was decided that Person A will remove their change and leave Person B’s change as is. Ensure you delete the markers and only leave what you wish to commit to the repository.
We are now ready to return to the command line and complete the merge. To do this, run the add command on each file to tell git the conflict has been resolved:
git add index.html
git commit -m “Using Person B changes”
git push origin master
git branch -d branch02
Again, we will commit and push to the server along with deleting the old branch. Lets look at the GitLab visual tool now.
We can see that the branch has been successfully merged with the master and we no longer have any conflicts.